Get special upgrade deals!Sign in to see if you qualify for deals.
Your cart is empty
There are no items in your cart
Taxes:Calculated at checkout
Subtotal:$0.00
Keep shopping
You own this software | Purchased on
Included Software:
Get special upgrade deals!Sign in to see if you qualify for deals.
Join Mixed In Key
Please log in again to continue.
Please sign in to view your owned products.
or
Email address
Please enter a valid email address.
By signing in, you consent to receive marketing emails and text messages from Mixed In Key. You may opt out at any time.
To verify your email, we've sent an email to . This code will expire in
You can resend your code in ()
Didn't get a code?
You've entered an invalid code. Please try again
Your code has been resent, check your inbox. If you're having trouble check your junk mail.
Tell us about yourself
Please enter your first name
How to use Arps in your music.
Arpeggios, or arps for short, are powerful and exciting ways of playing chords. With the potential for investing rhythm and style into otherwise dreary chord progressions, it’s no wonder we all love them. Find out how to use arps in your tracks, with our simple guide!
What is an arp?
While the exact way an arp plays is potentially complex, the principle is simple: An arp is created by playing the notes of a chord individually, in a sequence. The sequence can vary wildly, as can many other permutations such as note length, whether the arp travels through octaves and much more. But, the principle is still simple. An arp is a chord in which the notes are played sequentially.
Traditionally, this is achieved by a pianist choosing which notes to play, but since the advent of the synthesizer, this job can now be performed electronically. Indeed, as well as many synths, most DAWs have an on-board arpeggiator tool of some sort. Not only does this mean you don’t need lightning fast fingers, it means we can achieve superhuman arps that transcend the realm of what we would have considered possible just a few decades ago!
Arps have a lot of sonic potential. They can be used to enliven a dreary chord progression, as an effective and musical way of transitioning between chords, in a retro 80s style bassline, or as shimmering sound effects. Arps can add drama, depth and intrigue to any chord progression.
So, if you feel like you can’t inject enough energy into a chord progression, try using an arp to spice things up.
Some of the great basslines were created with an arp.
Basslines generally don’t involve as many notes as melodies, and many arp basslines simply play one note per chord. However, you can effectively allow two or three notes in the chord to be triggered by your arp and achieve amazing results. Here are a few classic examples of arpeggiated basslines:
Donna Summer – I Feel Love (written by Giorgio Moroder)
Stranger Things Theme. Incidentally, there is also an arp being used as a sound effect right at the start of the track. Can you spot it?
Using arps is pretty simple, too. It doesn’t require too much skill to play a chord and trigger an arp. Simply holding down the notes of your chord triggers your arp and sends it on a cycle until you release the note(s). Many synths have arpeggiators built-in, as do many VST Instruments. Most DAWs these days have a built-in arpeggiator, too.
This song by Todd Terje uses arps all the way through, for almost all the melodic structures. First, the repetitive, arpeggiated bassline, then additional synths playing the same arp in a higher timbre. Finally, at 6 minutes, we crescendo with an array of shimmering arps.
Let’s take a look at some basic arp controls.
Most arpeggiator plugins offer controls for 4 key parameters, which we investigate below. After that, arpeggiators and their functions vary between manufacturer.
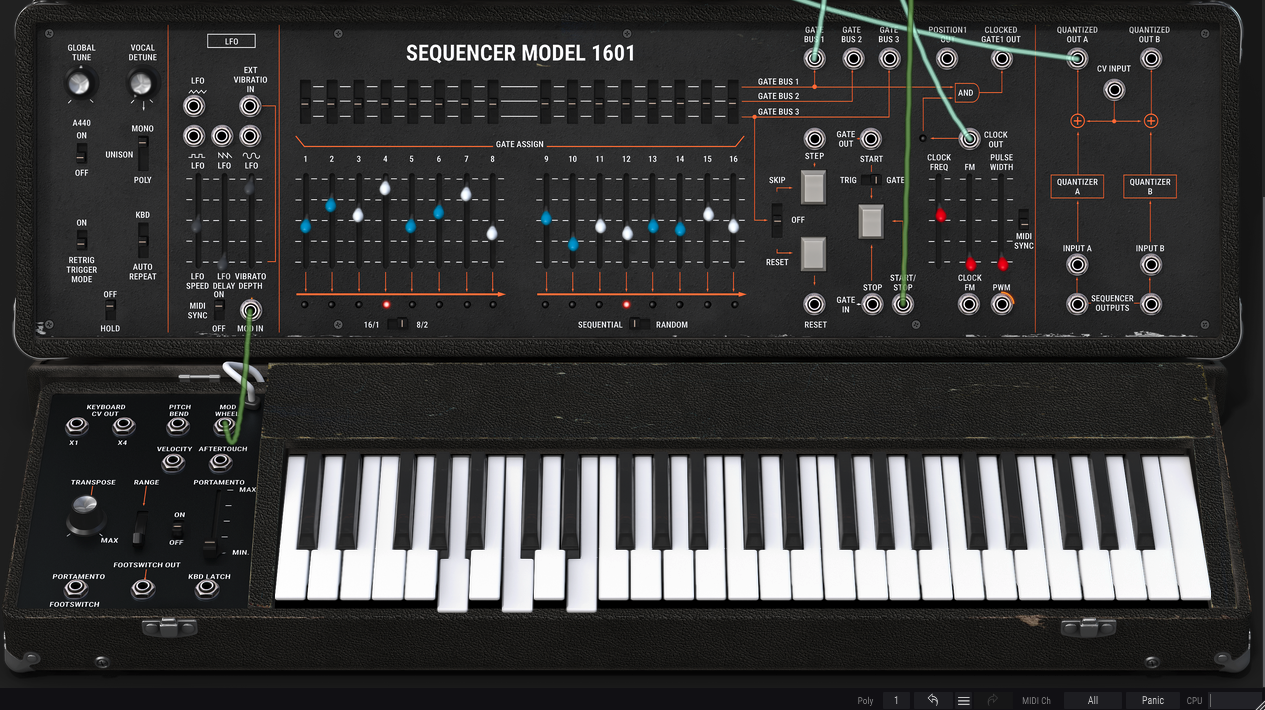
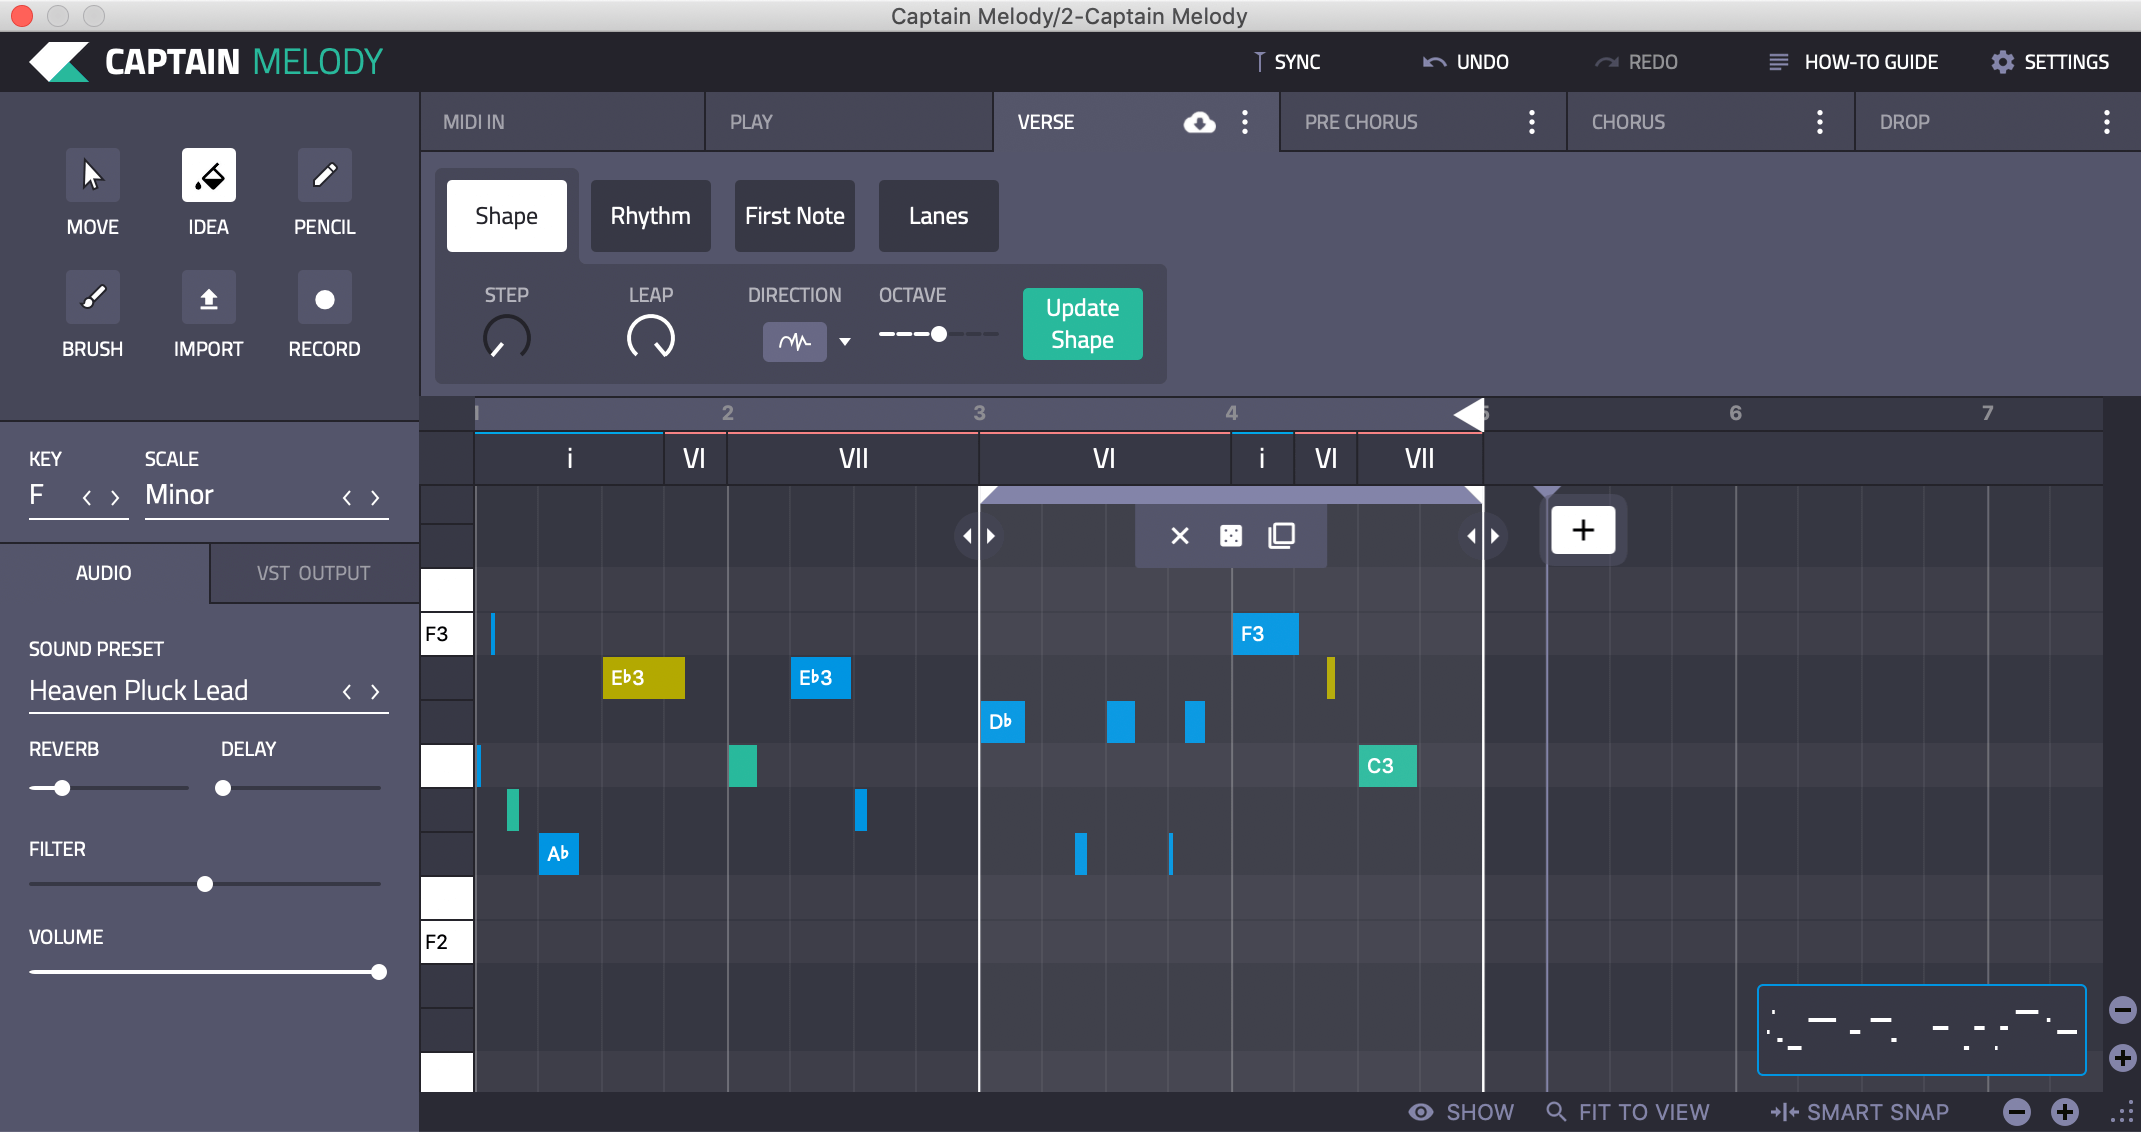
Ableton’s stock Arpeggiator MIDI Effect, for example, has precise controls for almost all aspects of arpeggiation. However that doesn’t necessarily make it ‘better’ than Logic’s stock Arpeggiator, which may have more streamlined controls for some aspects, but greater room for arp expansion in others. Furthermore, some arpeggiator tools such as Cthulu and Captain Melody’s Idea Tool, even allow you to manually specify exactly which notes should be played via MIDI editing, and in what order. You can even vary the rhythm within the same arp!
1. Rate.
The speed at which the arp cycles. Set at 1/8, for example and the arp will play notes sequentially in consecutive eighth notes. Rate dictates the pace of the arp and as such is fundamental to the effect.
Many arpeggiators allow Swing/Groove control and Triplets, giving you further ways of articulating the arp.
2. Gate.
How long each note lasts for before it is abridged. EG with a gate of 50%, the note length will be 50% of the the note length of the incoming MIDI signal. Reducing the gate/note length creates a plucked style arp, while extending note length creates a fuller sound. While arpeggios are technically monophpnic,wghen using a polyphonic synth, extending the note length beyond the rate can create some magical textures. The note continues to play even after the next note in the arp is triggered, creating a swelling effect.
3. Pattern.
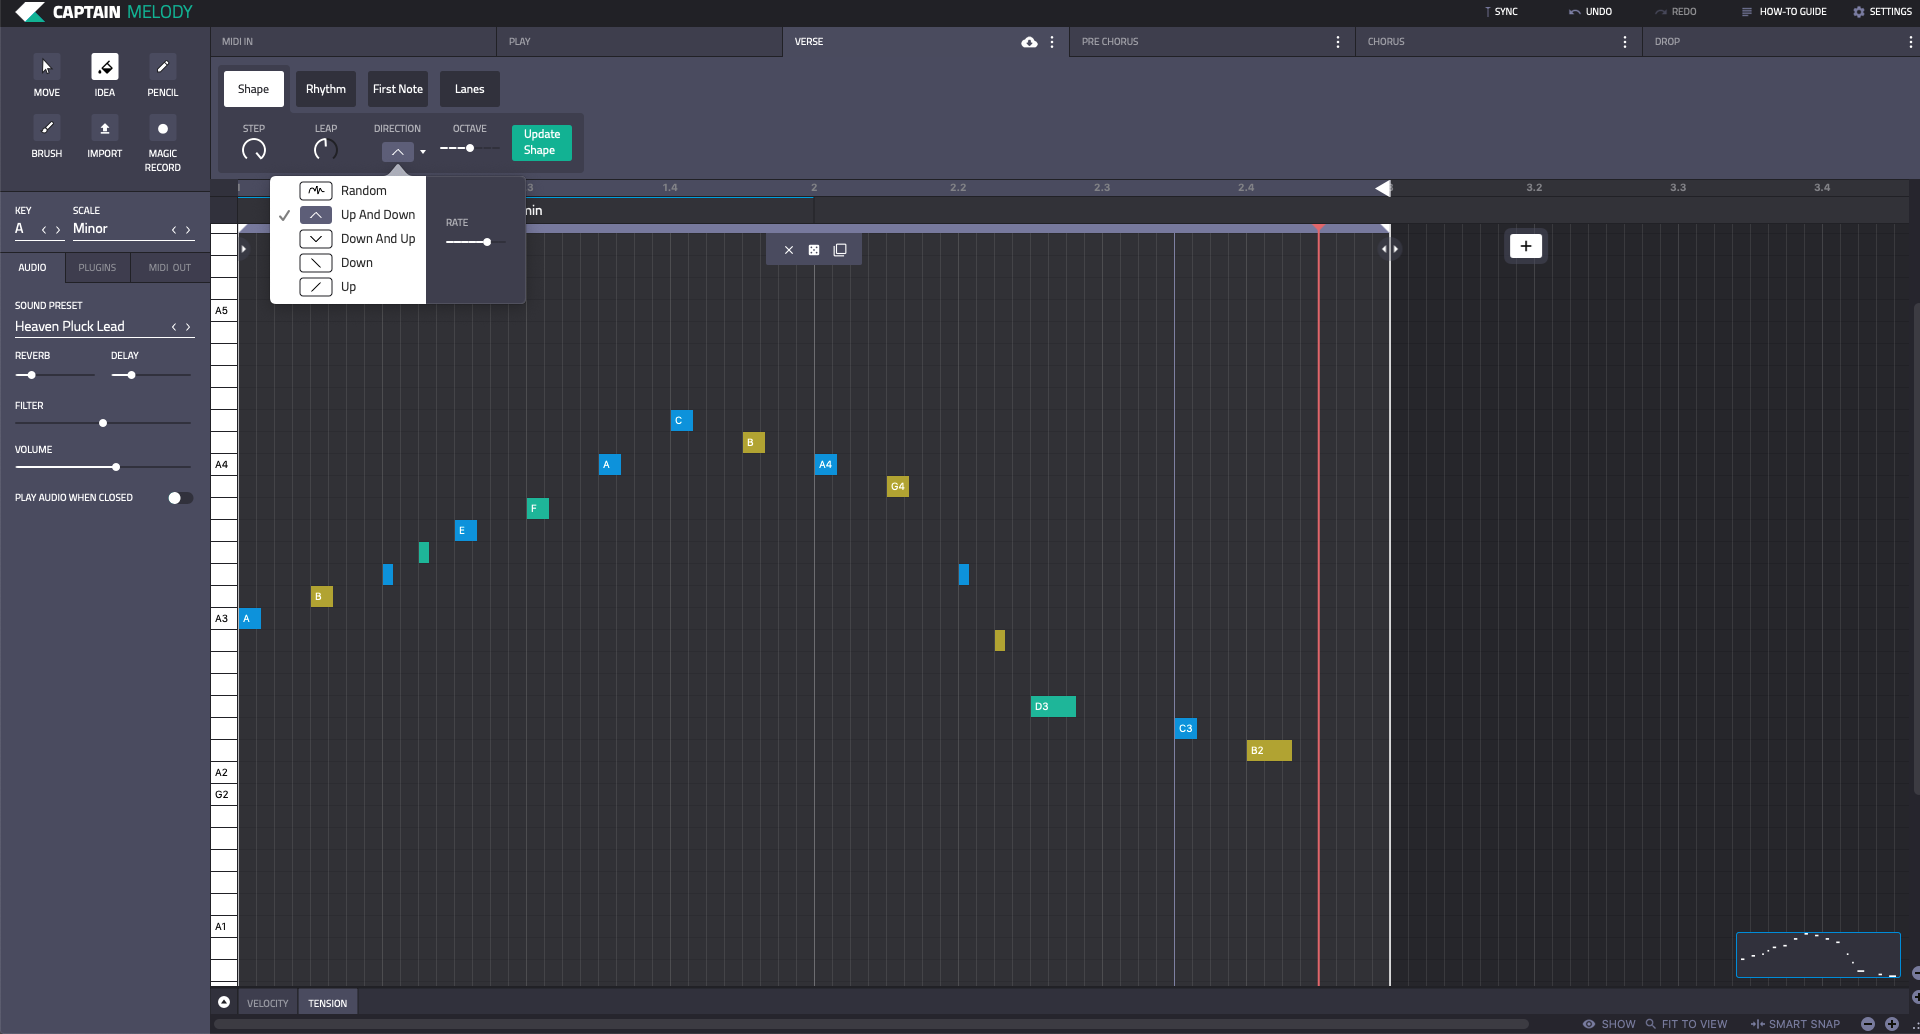
AKA Style, or Note Order, this dictates the pattern by which the arp selects which note to play in the sequence. Ableton’s arpeggiator has a really broad list of possible options, while others simply have the usual suspects: Ascending, Descending, Ascending and Descending, Random.
Ascending is obviously going to start at the bottom note in the chord and cycle upwards, descending the opposite. Ascending and Descending will cycle up and then down, while Random is, well, random.
Beyond that, there are several more possible pattern styles available in certain arpeggiators. For example, the ‘Style’ options in Ableton are as follows:
‘Up’ tells the arpeggio to start at the lowest note and work upwards.
You can guess what ‘Down’ therefore does.
‘UpDown’ and ‘DownUp’ flip-flop up and down as they progress through the arpeggio.
‘Up and Down’, and ‘Down and Up’ signifies that the arpeggio will play all the way Up, then cascade back Down,
or vice versa.
‘Converge’ triggers the bottom and top-most notes first, then the notes in the middle of the arpeggio.
‘Diverge’ does the reverse – it starts with the inner notes and moves on to the outer notes.
‘Con and Diverge’ blends these two functions together.
‘Pinky Up’ and ‘Pinky ‘UpDown’ relates to the ‘pinky finger’ of a keyboardist. This means the little finger,
which plays the higher note of a chord or scale, if played by a human. Both of these settings see the ‘pinky’
note, or topmost note, triggered on every beat, while the other notes in the chord play in between.
‘Pinky UpDown’ is the same as Pinky Up except it adds a downstroke once the Pinky Up sequence has completed.
‘Thumb Up’ and ‘Thumb UpDown’ do the same, but centred around the lowest note in the chord. This is the note
that a keyboardist would likely play with their thumb.
4. Range
AKA Steps/Distance, Range dictates the octaves covered by the arp. In many cases, this is restricted to octave increments, but some, such as Ableton’s, allow for individual semitones to be range targets. While the exact method of providing this function changes, the function of a range tool is to tell the arp to do two key things:
1. How many octaves (or semitones) should the arp extend its range by, up or down from the root chord tones.
2. How many times should the arp perform the above action.
Range is a key component of an arp. Extended ranges create shimmering, undulating arps that have great potential as sound effects or occasional high intensity motifs. However, in most popular music, ranges are not drastically extended across entire chord progressions, as the effect could be somewhat frantic. Take this example of masterful piano-playing:
Hugely impressive, we can all agree. But, is this style of arp extension going to suit your own tracks? Possibly if you write avant-garde prog/synthesizer odysseys, but perhaps for EDM, Pop, RnB, Trap or other more common styles of modern music, it might be best used sparingly!
Watch: Some creative uses of arpeggiation in practice:
Advanced tips and tricks.
Latch/Hold.
Take your hands off the keyboard, and the arp continues playing until it receives the next MIDI signal. That’s what happens when you engage your arpeggiator’s Latch or Hold button. It’s a very cool tool for allowing you to focus on other elements such as sound design while playing an arpeggiated progression. Change chords simply by pressing the chord keys once, and the arp will latch onto the new MIDI instruction and hold the arp until it gets a new signal. You can take your hands off the keys, and even press additional notes to add density to the arp as it plays.
Combine arpeggiators.
Stacking arpeggiators can create some wild new rhythms, patterns and behaviors. It’s going to be a case of trial and error, and you’ll run into some tangled, horrid sounding sequences occasionally, but that’s the fun of experimentation!
Interestng results from combining arpeggiators.
Retrigger.
Many arpeggiators allow you to denote which parameter will instruct the arp to retrigger (ie ‘start over’). In Ableton’s arpeggiator, you can use Note, which means it will retrigger when the selected sequence of notes has completed, according to the arp parameters. Or, you can select Beat, which tells the arp to retrigger at the selected clock division. So, 1ith a Beat settng of 1/8, the arp will retrigger every eighth note, regardless of how far it has made it through the arp settings.
Add an LFO.
What about automating the parameters of your arp using an LFO? By sending the LFO to parameters such as Gate, or your synth’s Attack and Decay, you can make your arp perform differently as it cycles through the LFO. This vide below shows the principle in action:
While the exact settings will depend on the capabilities of your equipment, trial and error and personal preference, automating via LFO is a fun and interesting way to add extra dynamism to your arp.
About the author:
Adam Hignell is a music producer, mastering engineer, DJ and label-owner based in Brighton, UK. When not providing content and tech support for Mixed In Key, he produces music under the alias Don Dayglow, provides professional mastering and mixing services, and runs the independent Disco/House label Particle Zoo.