Get special upgrade deals!Sign in to see if you qualify for deals.
Your cart is empty
There are no items in your cart
Taxes:Calculated at checkout
Subtotal:$0.00
Keep shopping
You own this software | Purchased on
Included Software:
Get special upgrade deals!Sign in to see if you qualify for deals.
Join Mixed In Key
Please log in again to continue.
Please sign in to view your owned products.
or
Email address
Please enter a valid email address.
By signing in, you consent to receive marketing emails and text messages from Mixed In Key. You may opt out at any time.
To verify your email, we've sent an email to . This code will expire in
You can resend your code in ()
Didn't get a code?
You've entered an invalid code. Please try again
Your code has been resent, check your inbox. If you're having trouble check your junk mail.
Tell us about yourself
Please enter your first name
The Ultimate Guide: How and when to use reverb.
Reverb can make or break any track. And yet, many producers guess their way through using it. It’s understandable; there are endless variations and types of reverb, all kinds of applications for them, and precious little guidance available.
With our easy to understand, simply explained guide, you’ll know exactly how and when to use reverb in your music.
What IS reverb?
We need to start at the beginning, because there’s a lot to cover. Reverb is a shortening of the word reverberation. Reverberation is defined as ‘a sound that echoes’… so why do we talk about Reverb and Echo? Aren’t they the same thing?
The difference is perception.
Echoes are perceived by the human ear as separate versions of the original sound. So when you shout into a tunnel, you don’t perceive the echoes as part of the original call. Each echo is different. This is because each echo is separated from the original call by an amount of time that we consider sufficient to declare it a ‘new’ sound. It isn’t, of course, but humans don’t make much sense at the best of times.
Reverb is defined differently. It may seem arbitrary, but we tend to classify reverb as echoes that reflect within one-tenth of a second, or 100 milliseconds. This means they come back at us so fast that we perceive them as part of the original sound.
Reverb affects perceived distance.
We know that panning affects the stereo field. Pan sounds left and right and they separate from each other, adopting positions in the stereo field that give the impression of width. In reverb, it’s the sonic depth which gets affected. Instead of left, right and centre, we have near-field and far-field. Different reverb types and settings can trick the listener into perceiving a sound as either near us, or somewhere in the distance. Imagine you’re standing next to someone in a cathedral. They can talk to you without raising their voice and be heard. Yet someone else, at the other end of the room, would need to raise their voice to be heard. In addition, the room reverberation would cause the words to lose clarity. They’d sound muffled and distant. This is how reverb works, too.
Types of reverb.
Plate, Room, Hall, Chamber, Spring, Non-Linear.
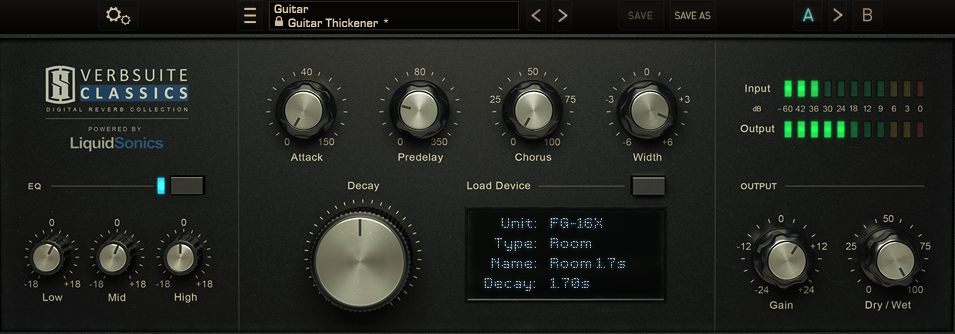
1. Room
Reverb is sound reflecting as a short-burst echo. But what is it reflecting against?. This is a crucial issue in the world of the ‘verb.
I’m willing to wager you’re reading this from a room right now. I guess there’s a chance you’re on a bus or train, but even then, they’re types of room, just as a cathedral is a type of room. Rooms have walls, floors and ceilings. Domestic rooms tend to be fairly similar – they type of wall, floor, and dimensions of the room may vary, but they’re still rooms. However, shout your name in your living room, and then go to a deserted cathedral and try the same thing. It sounds pretty different, right? You might say the cathedral version sounds pretty epic, I’m guessing.
But here’s the thing; none of these rooms were designed with sound reflections in mind. They just do what they do with the sound, and leave us to pick up the pieces. They just sound a certain way, and there’s not much we can do about it.
As a result, you might think that Room Reverb is a compromise; something not ideally suited to music use. And, I guess you’d be right. But, do you remember when I just said humans don’t make sense? We actually love room reverbs. They’re familiar. They’re disparate (consider the difference between singing in a cathedral or a garage.) And they’re ours. Embrace the room, man.
Room reverbs can be applied to any sound. Your consideration should be the type of room chosen, the length of the reflection, the dry/wet ratio and the overall density. You can effectively position sounds as ‘near’ by using more dry signal and less density, and far away by extending the wet ratio and density value.
Some common uses for Room Reverb:
Universally applicable.
Positioning sounds from far away to up close.
As a ‘natural’ sounding effect, it’s not commonly used for special FX.
Can, however, be used as an ambient reverb that ties additional reverbs together.
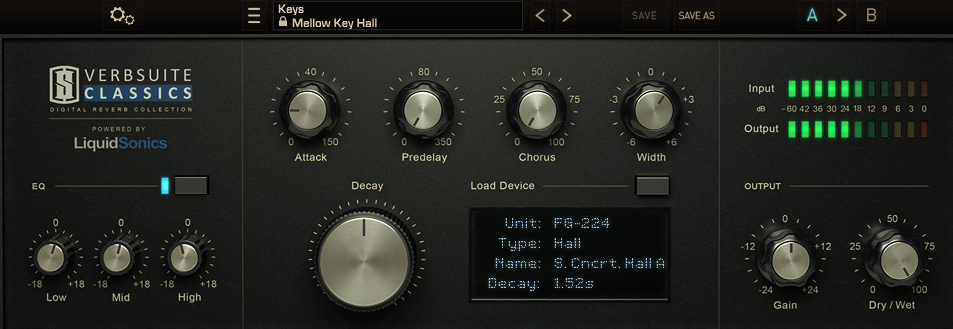
Hall.
Rooms aren’t made with sound reflection in mind, right? We just agreed that, didn’t we? But it’s not entirely true. Most rooms aren’t made with sound reflection in mind, but some are made with that consideration front and center of the architect’s vision. Opera houses, theatres, cinemas, and many live music venues and nightclubs were designed from the sound up.
Pre-amplification, singers and actors needed a little assistance to have their voices heard in the back rows. The room could make a huge difference. Clever architecture could reflect sound from the stage to the far reaches of the theater in milliseconds. Naturally, as times changed, nightclub owners demanded the same response from their acoustics.
History lessons aside, the point remains – ‘Hal’ reverb is reverb which emulates the ‘designed for sound’ character of bespoke music venues and theaters.
Some common uses for Hall Reverb:
Universally applicable.
Bright sounds.
Leads and synths.
Sound FX.
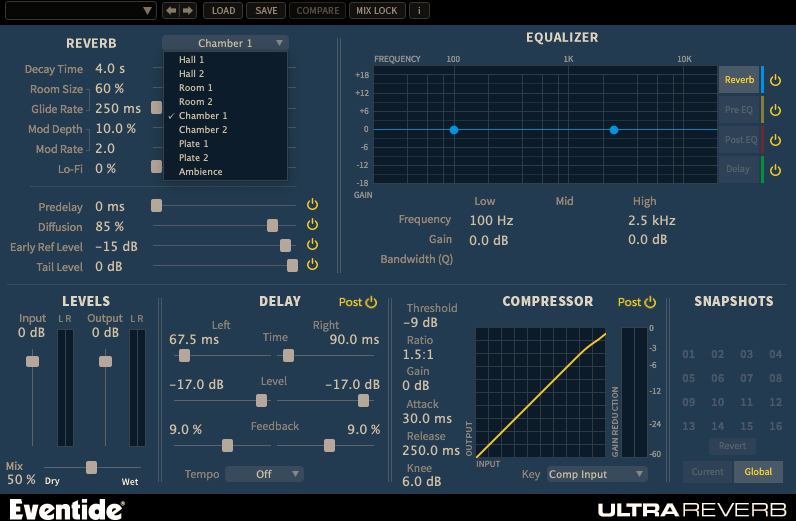
Chamber.
Chamber is a recreation of the reverb effect commonly found in orchestra chambers. These spaces have shorter reflection times than Halls, since they’re smaller in dimension. But, as spaces designed for acoustic performance, they have a thick, lush and warm presence.
Some common uses for Chamber Reverb:
Glueing ensemble sounds together.
Epic sounds while retaining clarity.
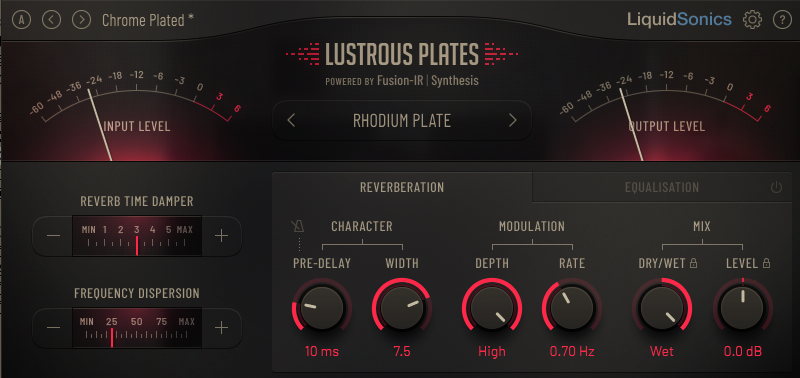
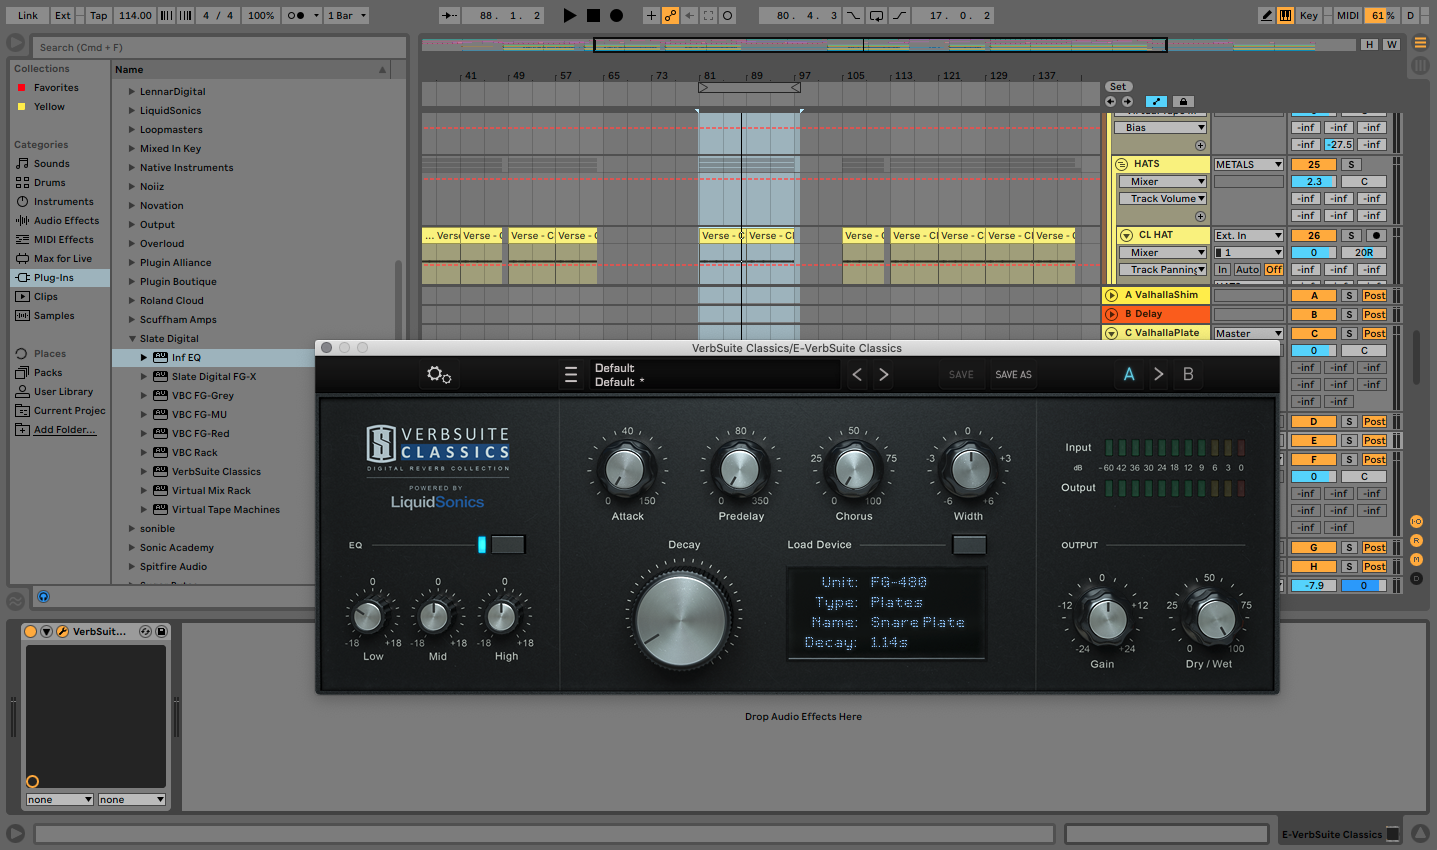
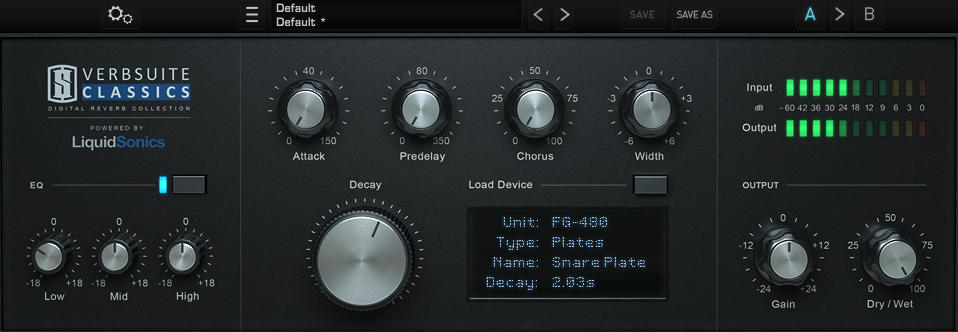
Plate.
Plate reverb is a curiously simple device, with a phenomenal sound. It’s quite literally just a sheet of metal hanging in a box, with a pickup (like on an electric guitar) and a couple of drivers. The box captures the reverb, which is shaped by the effect of the metal sheet. The sound that enters a plate reverb reverberates off the front and back of the sheet, leading to a curious mix of reflections.
Other factors contribute to the unique textures of plate reverb. While we don’t need to get bogged down in science, sound travels faster over metal than through air. As a result, the sheet in a plate reverb creates a higher echo density. It also causes an imbalance between the higher and lower frequencies in the reverb. Lower frequencies travel slower than highs, which in turn leads to the reverb seeming more energetic in higher frequencies. The sheet metal not only looks shiny; it sounds shiny!
Plate reverb has smooth, creamy tails, high echo density and a clean tone, which makes it versatile and extremely popular, particularly for high visibility sounds like vocals and snares. It also sits nicely with other reverbs.
Some common uses for Plate Reverb:
Snares and claps.
Vocals.
PRO TIP
Many Plate Reverb plugins have different types of metal sheets as options, which further color the effect.
Spring Reverb.
Achieved by sending sound through a box with a spring in it, the effect is an other-worldy reverb with a very unique character. Spring reverb is still, in its original, hardware form, found in many modern synths and guitar amps. Indeed, entire genres of music are indebted to spring reverb – think 1960’s surf rock like Dick Dale’s ‘Misiriou’ (made famous in cult Tarantino movie ‘Pulp Fiction’.)
So it’s easy to see why so many guitarists still crave that ethereal, jangly sounding reverb. But effective application is not limited to guitars. Synths such as the Moog Grandmother still cme with spring reverb units, while classic organ sounds owe a significant debt to spring reverb. Its sound is certainly not subtle, but spring reverb can be an exhilarating effect.
Use with caution, though – it has a presence similar to a delay, and can quickly clutter a mix.
Some common uses for Spring Reverb:
Guitars.
Synths.
Vocals.
Digital Reverb (eg the ones you actually use in your DAW).
We need to understand that all the above reverb types exist in the physical realm. When we use reverb plugins, we are employing digital emulations of these reverb effects. These are created using algorithms that imitate the real effects. However, because they’re made on powerful computers, the limitations of the physical world do not need to apply. Reverb manufacturers can try and faithfully recreate the real-world reverbs. However, they invariably won’t get it exactly the same. Furthermore, they can push the limits of reverb to breaking point, which enhances the already mighty power of reverb as an effect in your tracks.
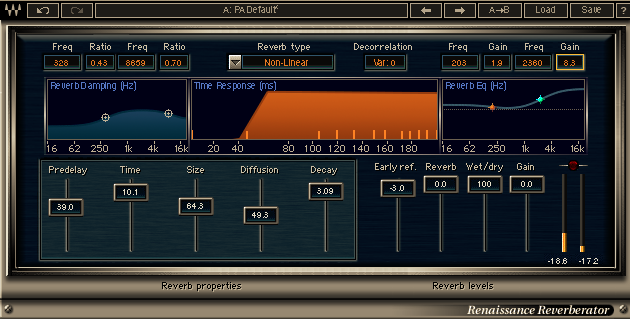
Non-Linear Reverb.
An entirely digital creation, non-linear reverbs break the fundamental rule of regular reverbs. In a regular reverb, the sound fades as it reflects. Sound waves bounce around and soon dissipate into the ether. In a non-linear reverb, the sound tail can do whatever it wants! Not only can the tail rise in volume rather than fade away, the tail can modulate pitch-bend or employ multiple reflection densities. This style of reverb manipulation has found favor with producers looking for futuristic or unnatural sounding effects in particular.
Some common uses for Non-Linear Reverb:
Special FX.
Glitches.
Samples.
Snares.
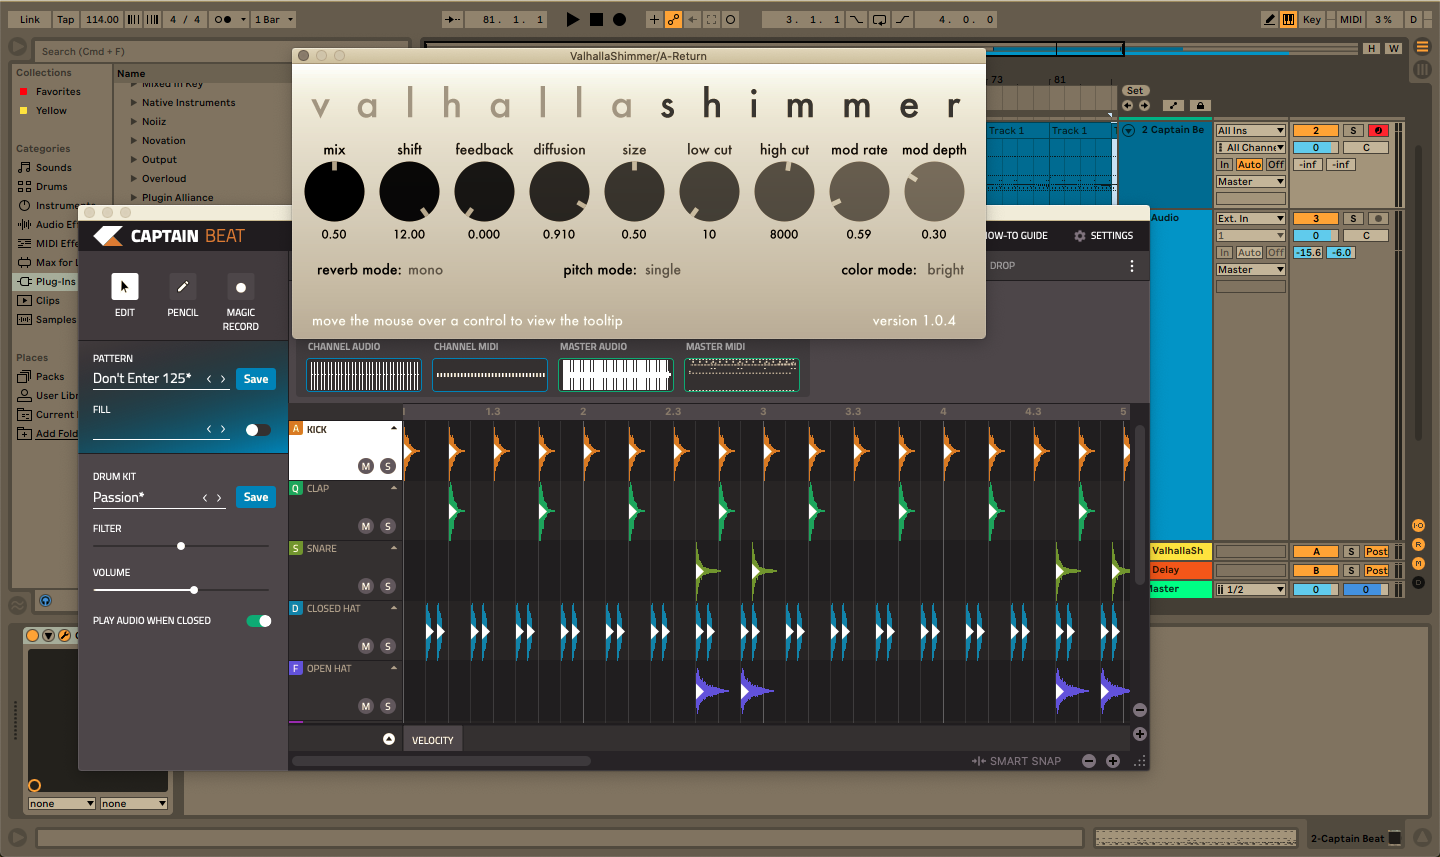
Write Chords Faster with Captain Chords
Use Captain Plugins to write your own Chord Progressions, Hooks, Melodies and Basslines
Reverbs vary, but most share some degree of common functionality. Let’s take a look at some commonly found terms in a reverb VST plugin:
Dry/Wet. (AKA ‘Mix’) The amount of dry signal entering the reverb, and the amount of wet signal that leaves.
Predelay. How long the reverb takes to kick in. The effect is of a short reverb-less section of the dry signal before the reverb starts.
Size/Scale/Depth. How large the reverb space is.
Shape. The shape the tail makes as it diffuses.
Diffusion. How quickly the reverb dissipates – higher diffusion means more reflections away from source, such as in a room with irregular dimensions.
Density. The thickness of the reverb.
Damping. The speed at which the high frequency reflections fade out.
Many EQ units also have the following features:
Chorus.
Width.
EQ.
Tempo Sync.
Non-Linear Reverbs may also have controls such as Modulation, Gravity, Warp, Pitch-Shift, Feedback and more.
PRO TIP
There’s no substitute for trial and error with reverb. It’s all about how it sounds in context, and what stylistic effects you are trying to achieve.
1. Tails clash with each other.
Using multiple reverbs in a track can be beautiful, but many producers create problems for themselves by allowing reverb tails to overlap in an unpleasant way. While overlapping tails isn’t an issue in itself, it can cause confusion in a mix when they don’t play nicely together. Play attention to the decay speed and diffusion rates of your reverbs, as well as the different types of reverb used.
Here’s a drum break with a nice amount of reverb tail on the snare and claps:
Now let’s crank the decay up so it overruns the1 and 3 beats:
the beat loses clarity and power immediately.
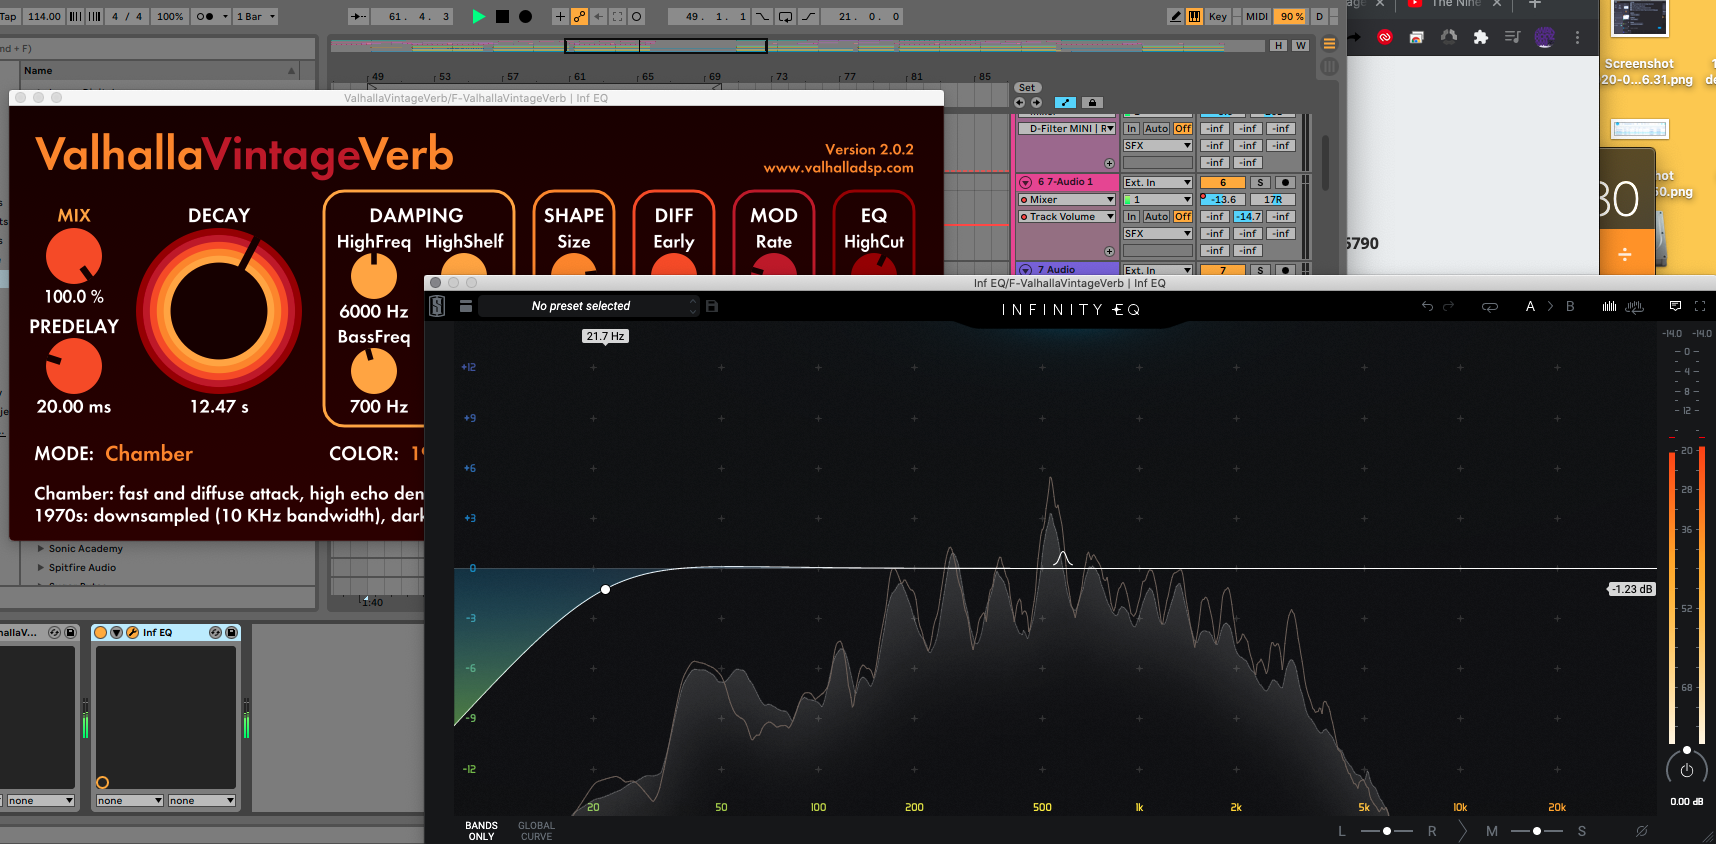
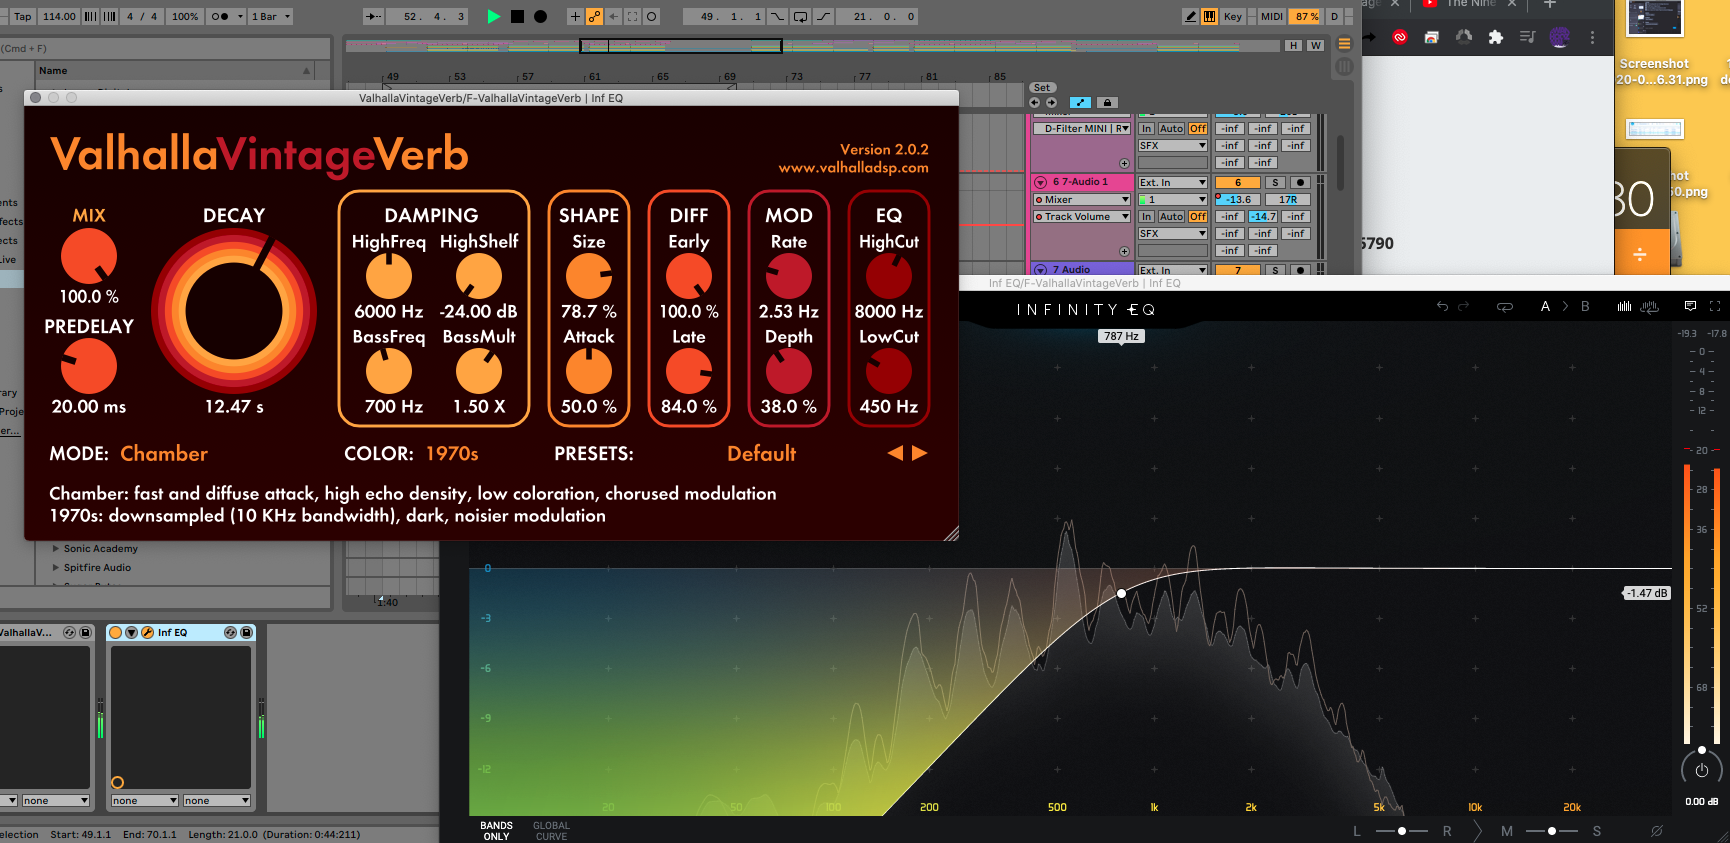
2. Poor EQing.
Reverb creates new density to your sound, which can sometimes accentuate nasty frequencies. It can also amplify muddy low end, causing muddiness or tubbiness. This can be remedied with effective EQ. Regardless of the channel’s EQ settings, place an EQ directly after your reverb and sculpt the tone so it’s pleasant on the ear.
Compare the following clips:
A:
B:
In Example A, the instrument is enveloped in reverb. It’s a stylistic effect, and sounds cool, except in Example B we ge the same reverb effect, but EQ helps us retain more clarity. By applyinG an EQ after the reverb in its Send channel, we can sculpt the tone. The higher reflections are maintained while the lower frequencies are filtered – this means less muddiness interfering with our mix.
3. CPU overload – using lots of units when one will do.
While stacking different reverbs can be great, you don’t need multiple instances of the same reverb on multiple channels. Instead, create a Send channel, apply reverb to it, and send all channels that you want affected to it. You can set the amount of each channel that gets sent, which means you can accentuate the reverb effect of one channel, such as a snare, while allowing the effect to be subtler on others. This will greatly reduce your CPU load, and mean you avoid the risk of phasing between similar/near-identical reverb tails.
Write Chords Faster with Captain Chords
Use Captain Plugins to write your own Chord Progressions, Hooks, Melodies and Basslines
I’m particularly thinking of drums, here. If your snare reverb lasts longer than the next snare hit, it might cause a cumulative reverb to build, which could ruin your carefully sculpted tone. It’s the same on other sounds, though. If the reverb lasts so long that it’s still going when the next phrase begins, it’s a problem.
This is best demonstrated using drums, since they are short sounds. When the reverb tails clash, it’s instantly noticeable. However, apply this logic to all instruments. If the reverb tails clash, particularly in the lower frequencies, you’re most likely creating muddiness for your mix. And, while all rules are meant to be broken, I can confidently say you don’t want that!
The reverb tails are nicely interacting here:
Yet here, overlong reverb decays on snare and hats create havoc in the mix. This can be useful as an effect for a short period, for instance to introduce a new section or as part of a drum solo, but it’s going to cause clutter in a regular, full mixdown.
5. Not enough variety.
Sticking to one trusty reverb type can work – it’s part of the reason certain genres, like classic House, sound the way they do. The producers used hardware units and could only access/afford one. So they applied it across the board. But, this is risky – it can be boring. Embrace the wonderful world of reverb in full. For example, a room reverb can be a useful ‘glue’ reverb – it can tie all the sounds together to make it seem like they were recorded in the same room at the same time. You know, like acoustic music usually is. We’re used to it.
But, combine this with a shimmering plate reverb on your snare, a spring reverb on lead guitar and a hall reverb on vocal. Suddenly, you’ve got a track with bags of character, all from using a smart combination of reverb units.
6. Insert or Send confusion.
The way reverbs behave when placed on either a Send channel or as an Insert on an Audio/MIDI channel is pivotal. When placed on a Send channel, the amount of reverb can be incrementally controlled, and subtly administered in greater or lesser amounts depending on a channel’s need.
When applied direct as an Insert, the effect is much more pronounced. You can mitigate this by reducing the wet amount, but then you may as well use a Send (and save your CPU).
Insert reverbs are best used if you want to apply a colossal reverb effect, such as for sound design, epic breakdowns and so on.
Listen to the difference:
As an Insert:
The same reverb on a Send channel instead:
7. Using reverb instead of delay.
As discussed in the opening chapter, reverb is essentially delay/echo with a shorter reflection time. So it stands to reason that using a super short delay/echo could emulate a reverb, right? Not quite. The effect can be similar, but delays don’t build up the same degree of harmonic density as reverb. Remember we talked about low frequencies travelling slower through a reverb unit than highs? This is what shapes and contours the tone and harmonic density of a reverb. Delays, by contrast, generally reflect carbon copies of the source audio. No difference in tonal reflection means cleaner tone, which can be less characterful, but less cluttering, too.
8. Not using enough reverb.
Almost every sound we hear in our lives comes with natural ambience. Natural reflections that couch the sound we are hearing in reverb. Reverb is so common to our subconscious understanding of th world around us, that when we hear sounds without reverb, we instantly notice them. They sound alien, sterile, and stand out a mile. Hopefully by now these articles are getting you to think of every aspect of music and sound as part opportunity, part problem. Ergo, you’ll be thinking ‘maybe standing out and being noticeable is a good thing! And you’d be right. there are times when using no reverb at all on a sound helps lift it in the mix without obfuscating other elements of the track. But, more times than not, a total absence of reverb is in fact, more of a problem. Humans generally just can’t warm to cold, sterile sounds. We need a little ambient reverb to help us enjoy them. So, while overusing reverb will quickly turn your mix into soup, under-using reverb can be just as problematic. Let’s listen to the drum loop in our example track, completely devoid of reverb:
Cold, and unsatisfying, right?
6 creative reverb techniques to enhance your tracks.
Reverb can be used to create some devastating effects that go far beyond emulating room behaviors. Here are 5 techniques to try in your own tracks:
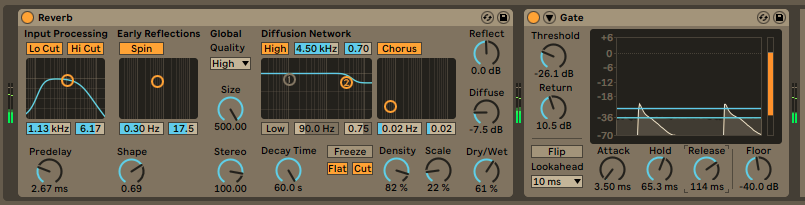
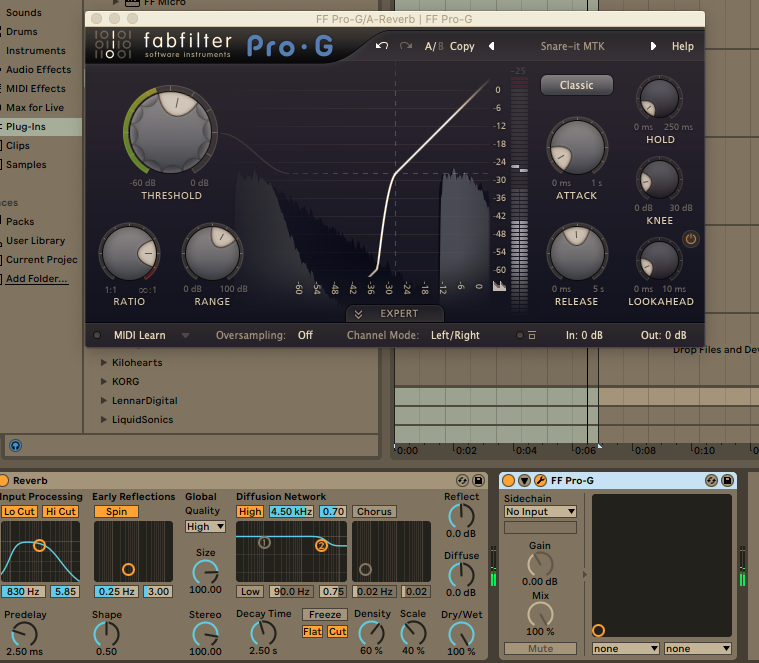
1. Gated Reverb.
Made famous by Phil Collins in the 80s, gated reverb is synonymous with humongous sounding snares, as heard in countless rock classics. The same technique was also fundamental to the heyday of Dubstep. Producers used gated ‘verb to create colossal snares with super loud tails that would suddenly cut to silence. Powerful! Here’s how:
1. Add a reverb as an Insert to your snare channel/bus. You can use any kind of reverb, to suit your taste.
2. Set the Decay and Density to high values, Diffusion low.
3. EQ the reverb to taste.
4. Insert a Gate after the Reverb and EQ.
5. Allow 100% reverb into the gate, then abruptly apply the gate. Set the duration to fit the music.
6. Adjust settings until desired tone/character is achieved.
The Gate is deactivated.
With the Gate now active, the snare tail is thick and powerful, and cuts off much more abruptly to suit the drum beat.
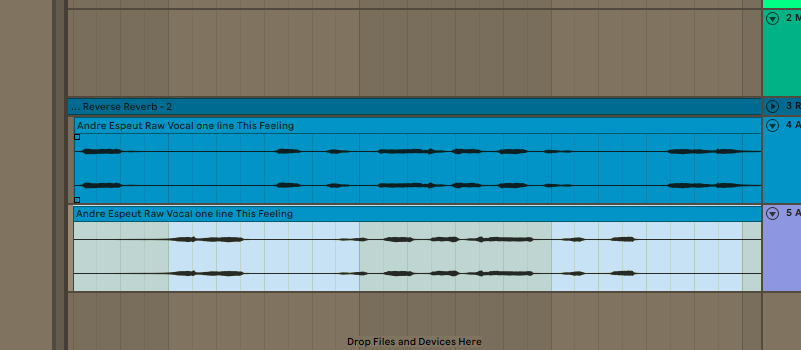
2. Reversed Reverb.
This can be an effective way of bringing in new sections of a track, or spicing up vocals and cymbals, particularly. Choose a piece of audio, reverse it, and apply reverb to the reversed sound. The transients will be reversed, meaning the reverb affects the back end of the sound first, which can cause some hauntingly beautiful textures to appear, as if by magic.
Then, resample the reverb as its own audio track, and remove the original, reversed audio clip. Line up the newly created reversed reverb clip to fit the main vocal track and voila! You have a shimmering, ethereal reverse reverb effect!
You may want to add more reverb to the resampled reverse reverb to glue it to the mix. You may also want to use it sparingly. For example, it may sound too weird over a whole vocal track, but might sound great at transition points, such as the end of a verse.
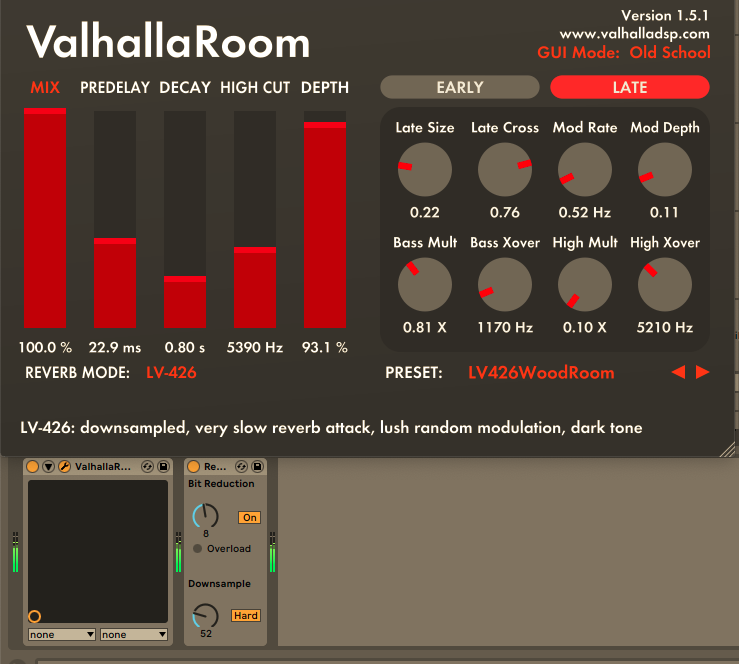
3. Bitcrushed/saturated Reverb.
Processing the reverb with destructive effects like bitcrush can wildly affect the character of the reverb. Using a similar set up as for EQing reverb, add a bitcrusher or distortion plugin after the reverb unit. Then experiment with the destructive power! You may want to EQ the results to cut any nasty frequencies that enter the chain.
4. Compression and Reverb.
It may seem counter-intuitive, but compressing reverb tails is a dramatic effect. It certainly won’t work on every track you write, but it’s a powerful option to consider. Compressing the tail makes the quitest parts much louder, giving the reverb tail an industrial-strength boost. Check out how it dramatically affects the character of this bassline:
Here’s the bassline with some subtle reverb appliied…
And here, the same reverb is compressed – what a difference!
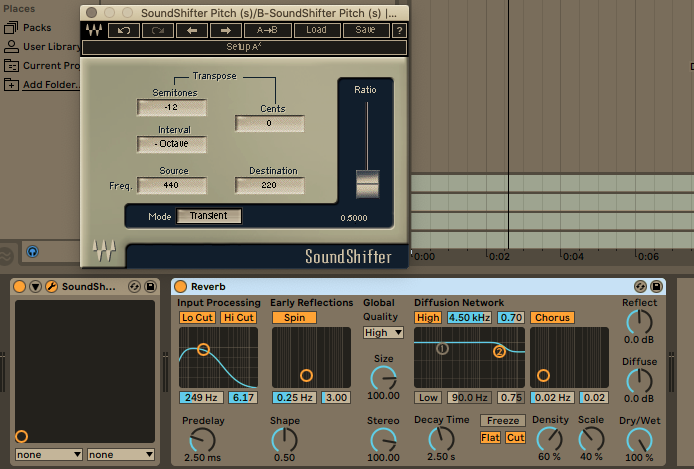
5. Octavized Reverb.
Another creative application of reverb could be to combine it with a pitch-shift effect. Insert a pitch-shifting plugin directly before the Reverb on a send channel, and shift the pitch up or down an octave. Lowering the octave can add thickness to vocals, while raising it an octave can give the impression of increased presence in chords.
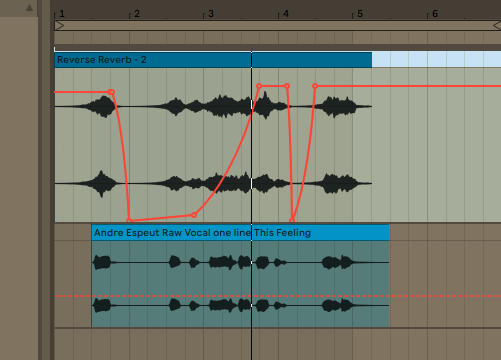
6. Automated Reverb.
This can work beautifully to accentuate particular moments or introduce different parts of an arrangement. By automating the reverb to behave differently at specific moments, you can create drama in your arrangement without needing to add any extra complexity to the track itself.
Try automating a boost in wet reverb or decay length at a specific point, such as the end of a verse or as part of a breakdown.
Here, the Wet amount of reverb is automated to increase towards the end of the vocal phrase:
There is, of course, much more you could automate than simple Dry/Wert amount. Try enabling ‘Freeze’ at various points. Freeze loops a snapshot of reverb at a consistent volume, which can be dynamic and exciting. Or, try automating between different reverb units entirely. You could automate octavised reverb to enter the effect chain at a certain point, or adjust decay times, filters and much more. In the long example below, several automation effects are applied at regular intervals throughout the phrase:
The automated effects are:
Decay Tail.
Reverb Device (Ableton Reverb to Waves Manny M Reverb and back.)
Octavised Reverb (up an octave.)
Freeze.
Reversed Reverb.
Octavised Reverb (down an octave.)
Did you spot when and where these automation points entered the effect chain?
Use your ears above all.
Getting reverbs to sound sweet is tricky, and it takes practice. With so many options and so many styles to choose from, just deciding what your goals are is hard enough. Ultimately, you need to constantly consider how it sounds, both ensemble and in isolation.
If I had to give one single piece of advice to my students, it would be this: If in doubt, dial it back. It’s so easy to become accustomed to the amount of reverb in your track that you lose sight of how it’s really affecting things. Turn it right down, drop that decay length to zero and build up, constantly referencing. Try different reverb types and evaluate how they affect the tone and character. Have an idea in advance of the type of reverb effect you want to hear. And, of course, avoid these 8 common EQ mistakes!
About the author:
Adam Hignell is a music producer, mastering engineer, DJ and label-owner based in Brighton, UK. When not providing content and tech support for Mixed In Key, he produces music under the alias Don Dayglow, provides professional mastering and mixing services, and runs the independent Disco/House label Particle Zoo.