Get special upgrade deals!Sign in to see if you qualify for deals.
Your cart is empty
There are no items in your cart
Taxes:Calculated at checkout
Subtotal:$0.00
Keep shopping
You own this software | Purchased on
Included Software:
Get special upgrade deals!Sign in to see if you qualify for deals.
Join Mixed In Key
Please log in again to continue.
Please sign in to view your owned products.
or
Email address
Please enter a valid email address.
By signing in, you consent to receive marketing emails and text messages from Mixed In Key. You may opt out at any time.
To verify your email, we've sent an email to . This code will expire in
You can resend your code in ()
Didn't get a code?
You've entered an invalid code. Please try again
Your code has been resent, check your inbox. If you're having trouble check your junk mail.
Tell us about yourself
Please enter your first name
7 creative reverb techniques to enhance your tracks.
Reverb can be used to create some devastating effects that go far beyond emulating room behaviors. Here are 6 creative reverb techniques to enhance your tracks.
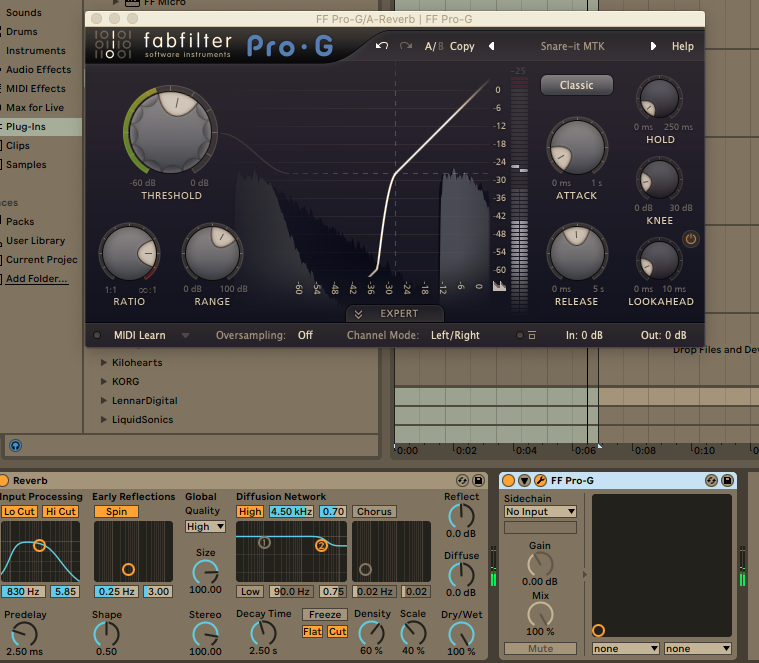
1. Gated Reverb.
Made famous by Phil Collins in the 80s, gated reverb is synonymous with humongous sounding snares, as heard in countless rock classics. The same technique was also fundamental in the heyday of Dubstep. Producers used gated ‘verb to create colossal snares with super loud tails that would suddenly cut to silence. Powerful! Here’s how:
1. Add a reverb as an Insert to your snare channel/bus. You can use any kind of reverb, to suit your taste.
2. Set the Decay and Density to high values, Diffusion low.
3. EQ the reverb to taste.
4. Insert a Gate after the Reverb and EQ.
5. Allow 100% reverb into the gate, then abruptly apply the gate. Set the duration to fit the music.
6. Adjust settings until desired tone/character is achieved.
The Gate is deactivated.
With the Gate now active, the snare tail is thick and powerful, and cuts off much more abruptly to suit the drum beat.
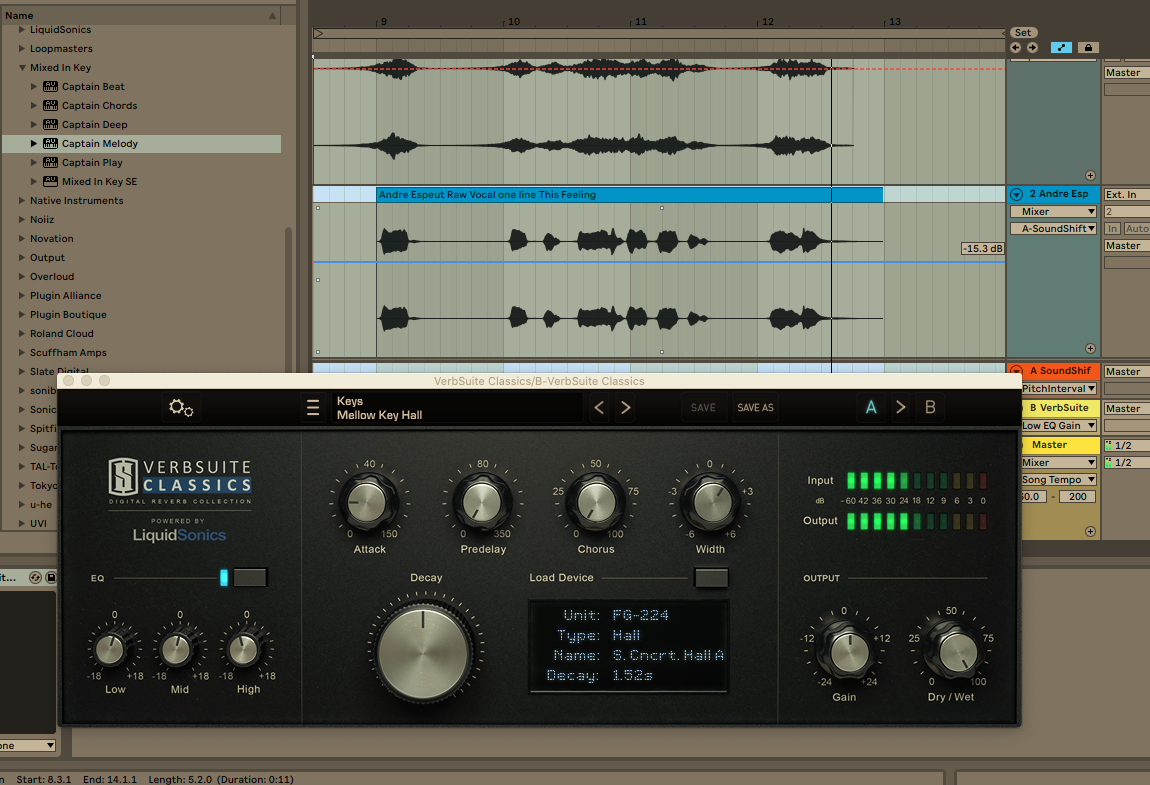
2. Reversed Reverb.
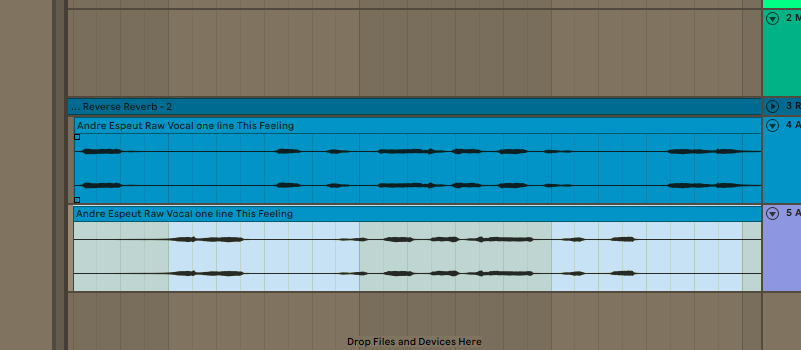
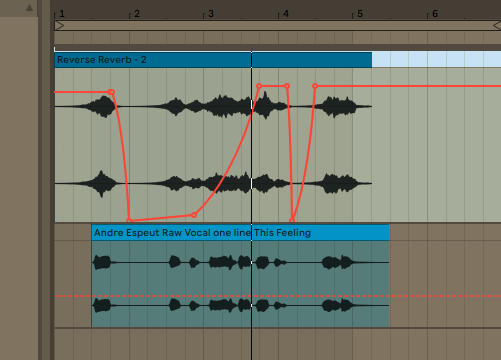
This can be an effective way of bringing in new sections of a track, or spicing up vocals and cymbals, particularly. Choose a piece of audio, reverse it, and apply reverb to the reversed sound. The transients will be reversed, meaning the reverb affects the back end of the sound first. This can cause some hauntingly beautiful textures to appear, as if by magic.
Then, resample the reverb as its own audio track, and remove the original, reversed audio clip. Line up the newly created reversed reverb clip to fit the main vocal track and voila! You have a shimmering, ethereal reverse reverb effect!
You may want to add more reverb to the resampled reverse reverb to glue it to the mix. You may also want to use it sparingly. For example, it may sound too weird over a whole vocal track, but might sound great at transition points, such as the end of a verse.
3. Bitcrushed/saturated Reverb.
Processing the reverb with destructive effects like bitcrush can wildly affect the character of the reverb. Using a similar set up as for EQing reverb, add a bitcrusher or distortion plugin after the reverb unit. Then experiment with the destructive power! You may want to EQ the results to cut any nasty frequencies that enter the chain.
4. Compression and Reverb.
It may seem counter-intuitive, but compressing reverb tails is a dramatic effect. While it certainly won’t work on every track you write, it’s a powerful option to consider. Compressing the tail makes the quietest parts much louder, giving the reverb tail an industrial-strength boost. Check out how it dramatically affects the character of this bassline:
Here’s the bassline with some subtle reverb appliied…
And here, the same reverb is compressed – what a difference!
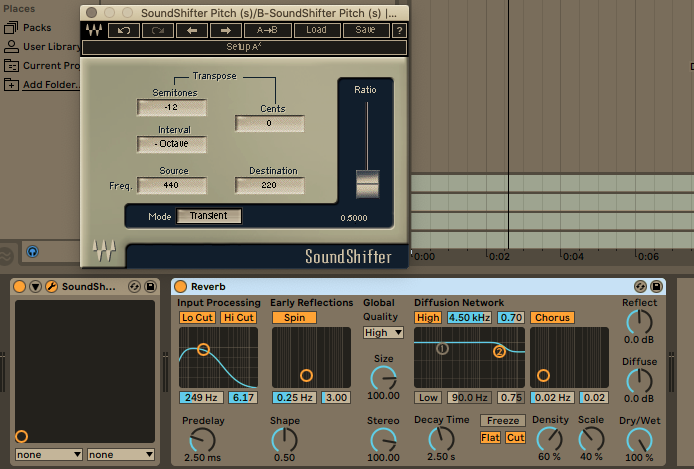
5. Octavized Reverb.
Another creative application of reverb could be to combine it with a pitch-shift effect. Insert a pitch-shifting plugin directly before the Reverb on a send channel, and shift the pitch up or down an octave. Lowering the octave can add thickness to vocals, while raising it an octave can give the impression of increased presence in chords.
6. Automated Reverb.
This can work beautifully to accentuate particular moments or introduce different parts of an arrangement. By automating the reverb to behave differently at specific moments, you can create drama in your arrangement without needing to add any extra complexity to the track itself.
Try automating a boost in wet reverb or decay length at a specific point, such as the end of a verse or as part of a breakdown.
Here, the Wet amount of reverb is automated to increase towards the end of the vocal phrase:
There is, of course, much more you could automate than simple Dry/Wet amount. Try enabling ‘Freeze’ at various points. Freeze loops a snapshot of reverb at a consistent volume, which can be dynamic and exciting. Or, try automating between different reverb units entirely. You could automate octavised reverb to enter the effect chain at a certain point, or adjust decay times, filters and much more. In the long example below, several automation effects are applied at regular intervals throughout the phrase:
The automated effects are:
Decay Tail.
Reverb Device (Ableton Reverb to Waves Manny M Reverb and back.)
Octavised Reverb (up an octave.)
Freeze.
Reversed Reverb.
Octavised Reverb (down an octave.)
Did you spot when and where these automation points entered the effect chain?
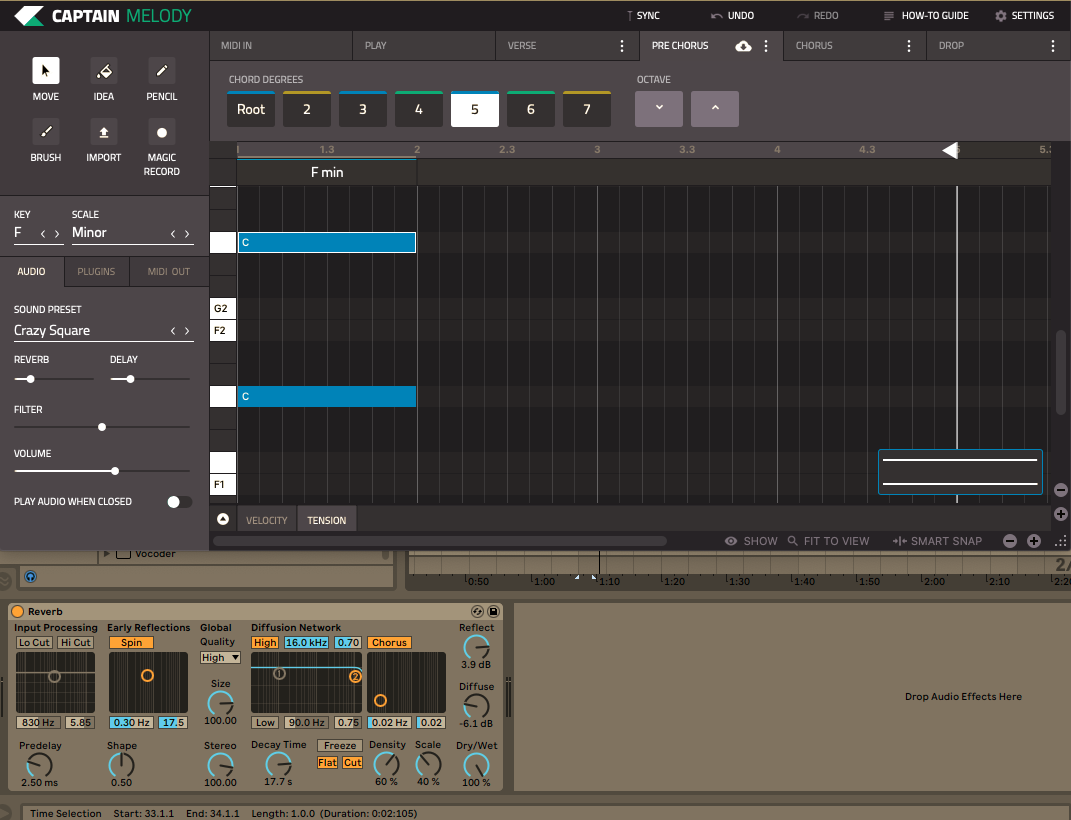
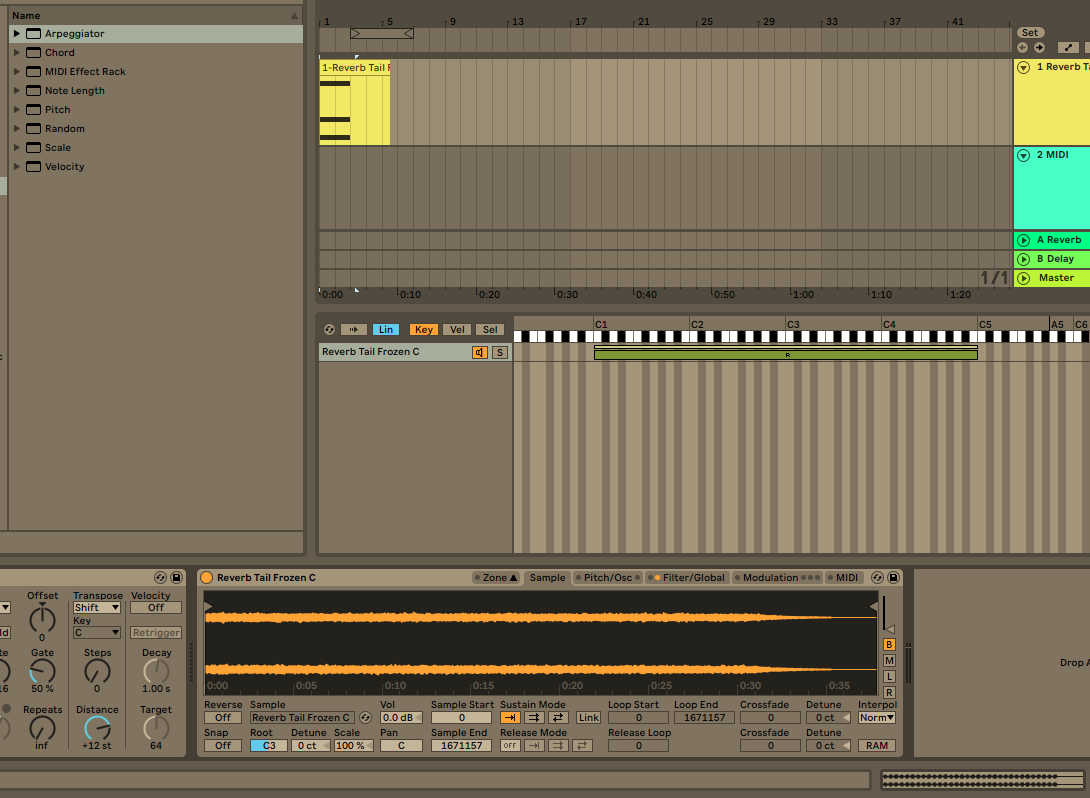
7. Freeze reverb tails and resample.
As alluded to in the automation example above, some reverb plugins have a Freeze function. This function takes a snapshot of the reverb tail and loops it, creating a new, consistent tone. It’s a great effect on its own and can be intensely dramatic, as heard in the above example.
You can take this a step further, and create a new instrument from frozen reverb tails. This works best with pitched instuments such as vocals, synths and other melodic instruments.
1. Create a Send channel and place a reverb with a long, loud early reflection setting. This means lots of mid and high-range frequencies will be present.
2. Turn the Send amount up to full.
3. Trigger a note on the instrument channel. Or if using audio, choose a clean note to sample.
4. Engage the Freeze function. Redo it if you don’t get the snapshot you want first time.
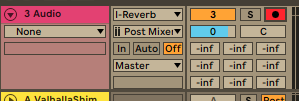
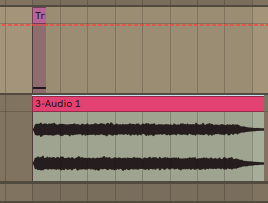
5. Record/resample the output of the Send channel ONLY, to a new audio channel.
6. Edit the new audio to capture a clean, long freeze tone.
7. (Optional) Pitch-shift the note to a middle C. This will make the next steps easier.
8. Export the frozen tone and load into your chosen sampler software.
9. Create a multi-instrument by laying the new samples down on your sampler’s piano-roll. If you started in C, you have a standard keyboard layout to play your newly created sound.
Here’s the new sound at middle C:
Ableton’s Sampler allows me to spread the sound across many octaves. Many other plugins and DAWs also offer this function, such as Logic’s EXS24 sampler.
The newly created instrument now has plenty of similarities to your original sound/sample, but is entirely made out of its reflections. This gives you the opportunity to counterpoint between the two or layer them together and create some interesting new textures!
Here’s a simple arpeggio created with the new instrument:
About the author:
Adam Hignell is a music producer, mastering engineer, DJ and label-owner based in Brighton, UK. When not providing content and tech support for Mixed In Key, he produces music under the alias Don Dayglow, provides professional mastering and mixing services, and runs the independent Disco/House label Particle Zoo.