8 Common Reverb Mistakes (and how to avoid them).
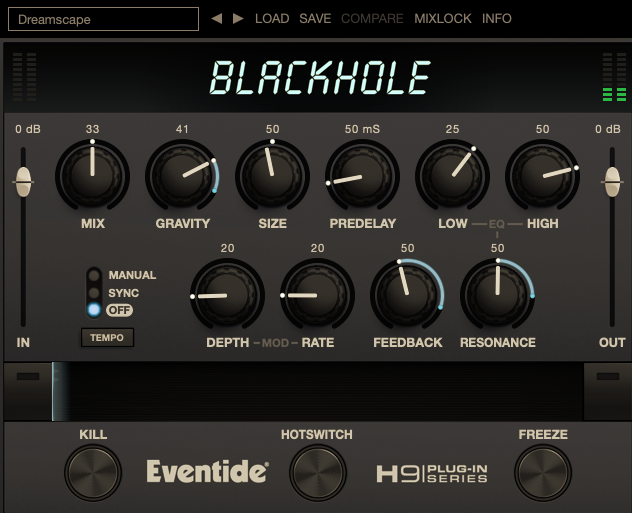
Reverb is everywhere.
Reverb is not just a plugin effect. It’s the acommpaniment to almost every sound we hear in our lives. It’s the naturally occurring phenomenon that colors every moment and every sound. Literally, every sound we hear is reflected off its surroundings, creating reverb. As such a fundamental part of our understanding of the world, it’s logical that reverb has an important part to play in our music, too. Yet, as they say, with great power comes great responsibility. Hopefully this article will help you identify some common reverb mistakes, and how to avoid them.
1. Tails clash with each other.
Using multiple reverbs in a track can be beautiful, but many producers create problems for themselves by allowing reverb tails to overlap in an unpleasant way. While overlapping tails isn’t an issue in itself, it can cause confusion in a mix when they don’t play nicely together. Play attention to the decay speed and diffusion rates of your reverbs, as well as the different types of reverb used.
Here’s a drum break with a nice amount of reverb tail on the snare and claps:
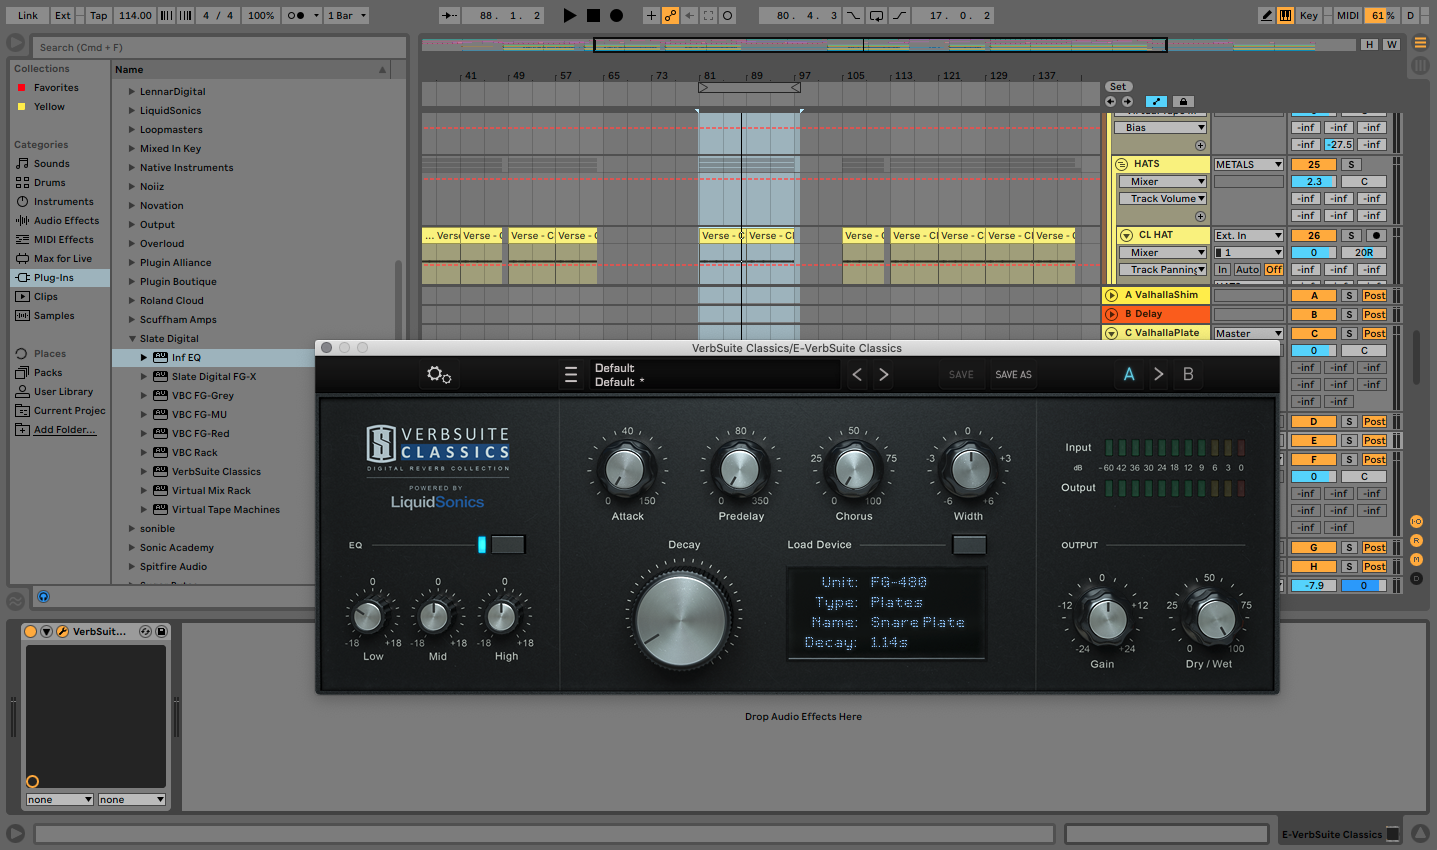
Now let’s crank the decay up so it overruns the1 and 3 beats:
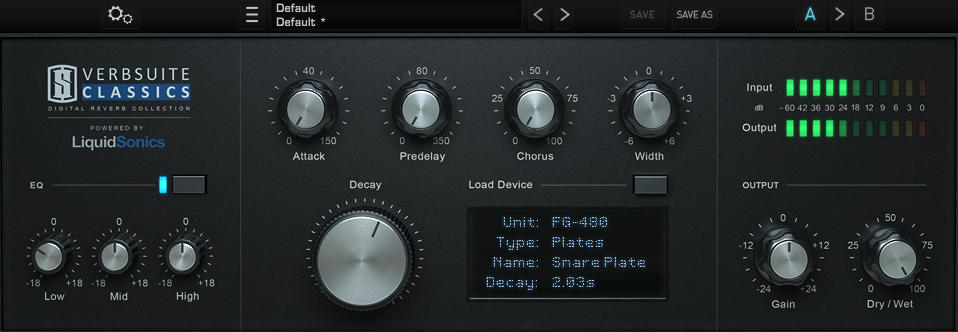
the beat loses clarity and power immediately.
2. Poor EQing.
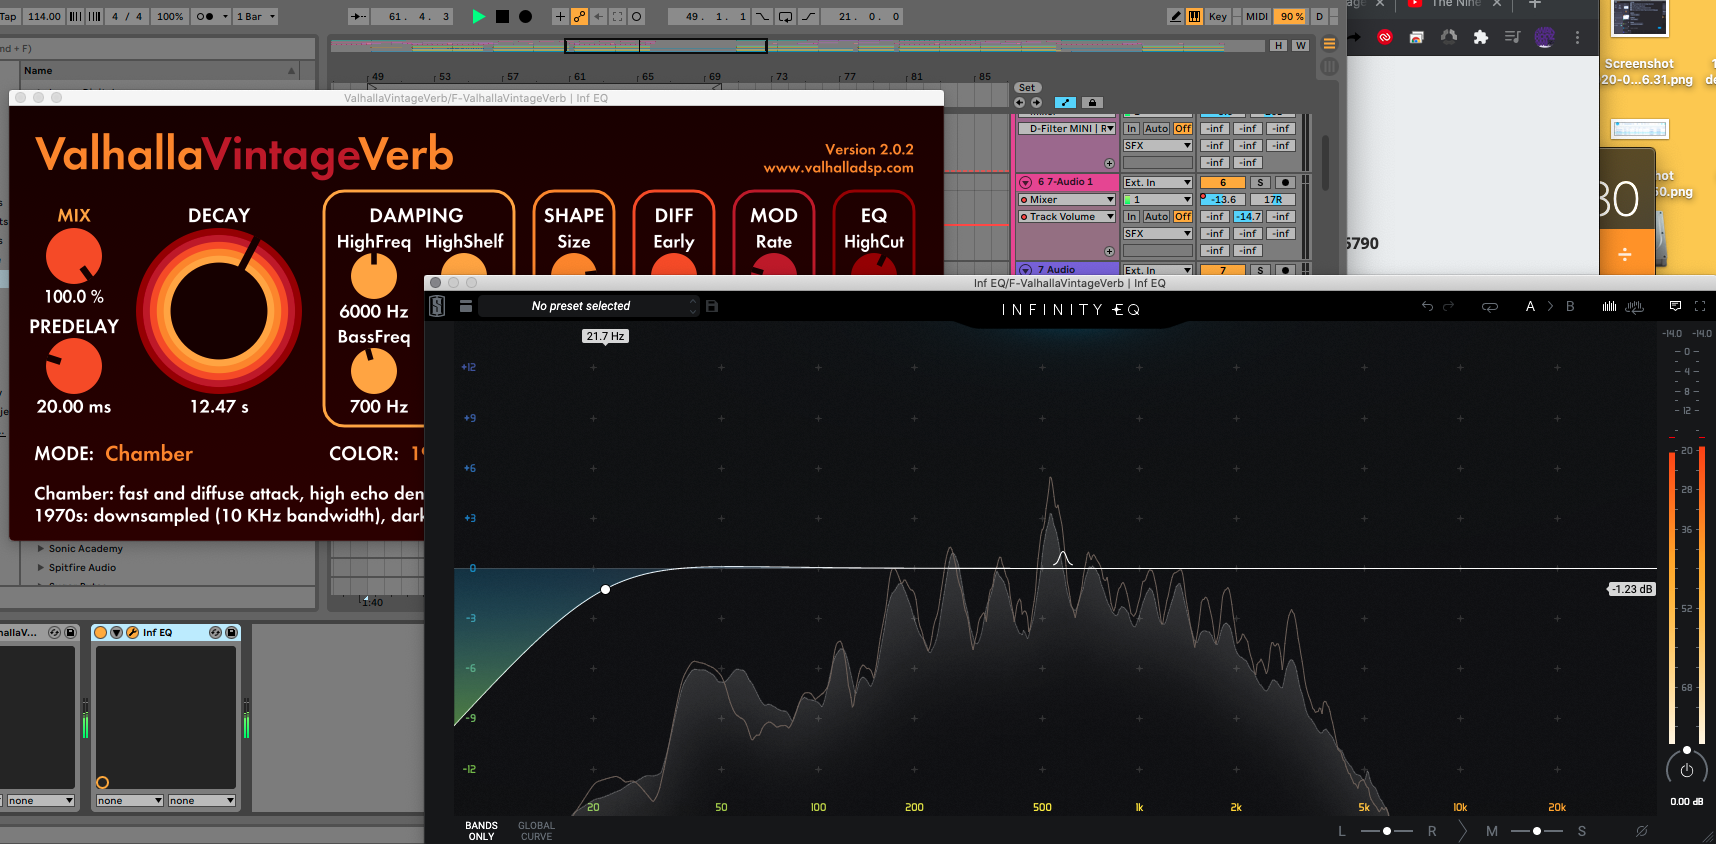
Another common reverb mistake is poor EQing. Reverb creates new density to your sound, which can sometimes accentuate nasty frequencies. It can also extend the presence of low and mid frequencies, causing muddiness or tubbiness. This can be remedied with effective EQ. Regardless of the channel’s EQ settings, place an EQ directly after your reverb and sculpt the tone so it’s pleasant on the ear.
Compare the following clips:
A:
B:
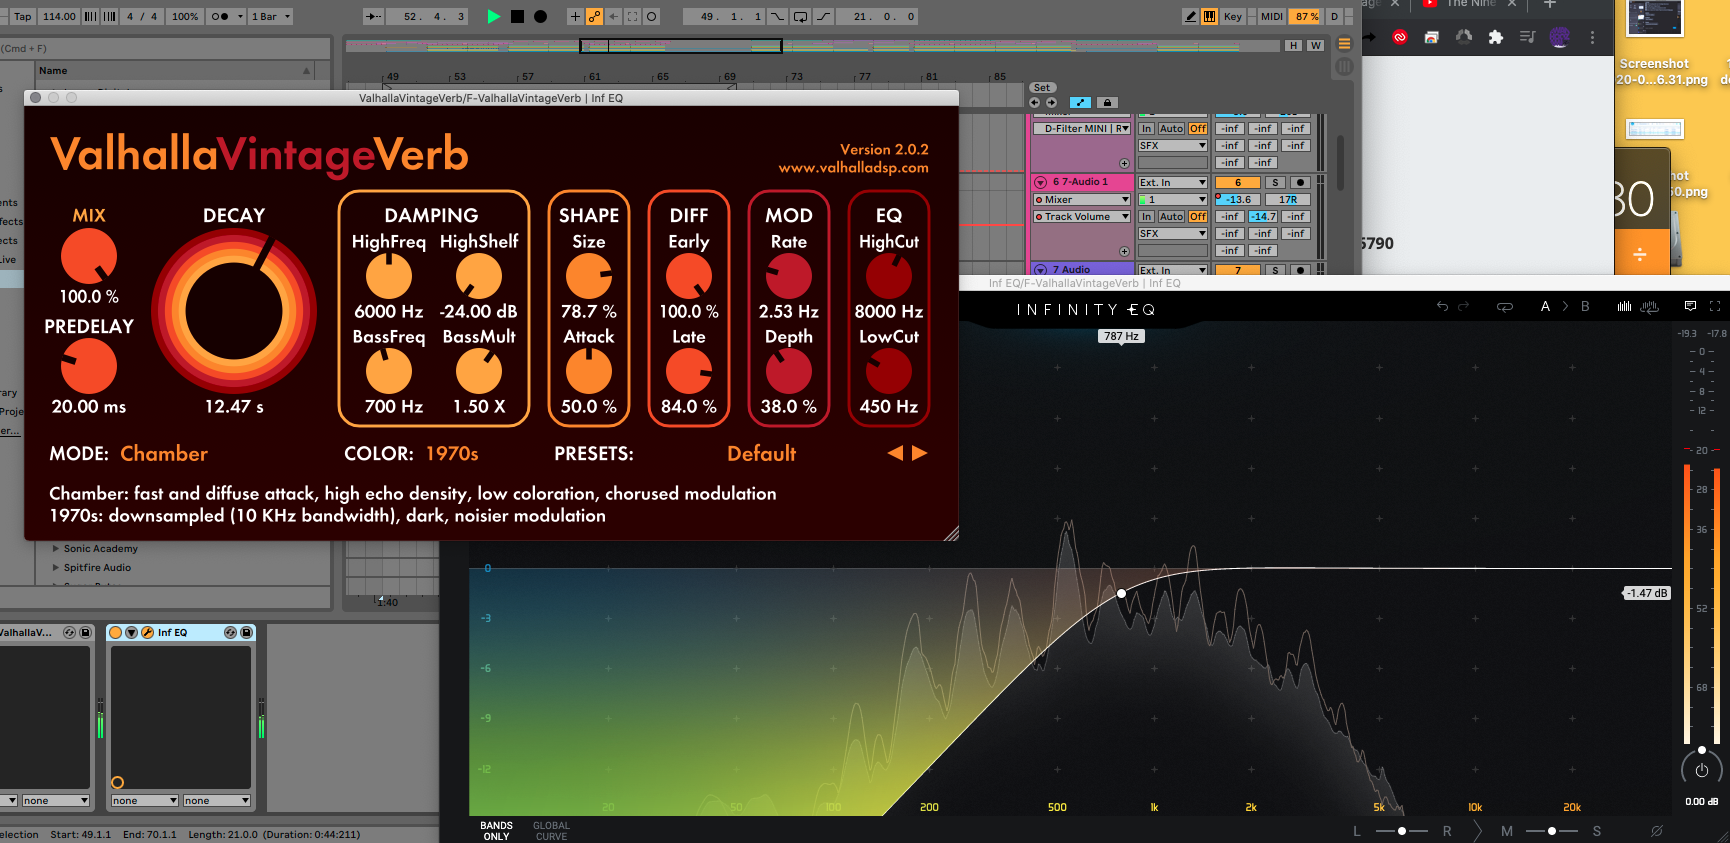
In Example A, the instrument is enveloped in reverb. It’s a stylistic effect, and sounds cool, except in Example B we ge the same reverb effect, but EQ helps us retain more clarity. By applyinG an EQ after the reverb in its Send channel, we can sculpt the tone. The higher reflections are maintained while the lower frequencies are filtered – this means less muddiness interfering with our mix.
3. CPU overload – using lots of units when one will do.
While stacking different reverbs can be great, you don’t need multiple instances of the same reverb on multiple channels. Instead, create a Send channel, apply reverb to it, and send all channels that you want affected to it. You can set the amount of each channel that gets sent, which means you can accentuate the reverb effect of one channel, such as a snare, while allowing the effect to be subtler on others. This will greatly reduce your CPU load, and mean you avoid the risk of phasing between similar/near-identical reverb tails.
Write Chords Faster with Captain Chords
- Use Captain Plugins to write your own Chord Progressions, Hooks, Melodies and Basslines
- Export to your DAW
- Available on Mac and Windows.
4. Tails clash with elements of the track.
I’m particularly thinking of drums, here. If your snare reverb lasts longer than the next snare hit, it might cause a cumulative reverb to build, which could ruin your carefully sculpted tone. It’s the same on other sounds, though. If the reverb lasts so long that it’s still going when the next phrase begins, it’s likely to signify another common reverb mistake.
This is best demonstrated using drums, since they are short sounds. When the reverb tails clash, it’s instantly noticeable. However, apply this logic to all instruments. If the reverb tails clash, particularly in the lower frequencies, you’re most likely creating muddiness for your mix. And, while all rules are meant to be broken, I can confidently say you don’t want that!
The reverb tails are nicely interacting here:
Yet here, overlong reverb decays on snare and hats create havoc in the mix. This can be useful as an effect for a short period, for instance to introduce a new section or as part of a drum solo, but it’s going to cause clutter in a regular, full mixdown.
5. Not enough variety.
Sticking to one trusty reverb type can work – it’s part of the reason certain genres, like classic House, sound the way they do. The producers used hardware units and could only access/afford one. So they applied it across the board. But, this is risky – it can be boring. Embrace the wonderful world of reverb in full. For example, a room reverb can be a useful ‘glue’ reverb – it can tie all the sounds together to make it seem like they were recorded in the same room at the same time. You know, like acoustic music usually is. We’re used to it.
But, combine this with a shimmering plate reverb on your snare, a spring reverb on lead guitar and a hall reverb on vocal. Suddenly, you’ve got a track with bags of character, all from using a smart combination of reverb units.
6. Insert or Send confusion.
The way reverbs behave when placed on either a Send channel or as an Insert on an Audio/MIDI channel is pivotal. When placed on a Send channel, the amount of reverb can be incrementally controlled, and subtly administered in greater or lesser amounts depending on a channel’s need.
When applied direct as an Insert, the effect is much more pronounced. You can mitigate this by reducing the wet amount, but then you may as well use a Send (and save your CPU).
Insert reverbs are best used if you want to apply a colossal reverb effect, such as for sound design, epic breakdowns and so on.
Listen to the difference:
As an Insert:
The same reverb on a Send channel instead:
7. Using reverb instead of delay.
As discussed in the opening chapter, reverb is essentially delay/echo with a shorter reflection time. So it stands to reason that using a super short delay/echo could emulate a reverb, right? Not quite, and this is a common reverb mistake. The effect can be similar, but delays don’t build up the same degree of harmonic density as reverb. Remember we talked about low frequencies travelling slower through a reverb unit than highs? This is what shapes and contours the tone and harmonic density of a reverb. Delays, by contrast, generally reflect carbon copies of the source audio. No difference in tonal reflection means cleaner tone, which can be less characterful, but less cluttering, too.
8. Not using enough reverb.
Almost every sound we hear in our lives comes with natural ambience. Natural reflections that couch the sound we are hearing in reverb. Reverb is so common to our subconscious understanding of th world around us, that when we hear sounds without reverb, we instantly notice them. They sound alien, sterile, and stand out a mile. Hopefully by now these articles are getting you to think of every aspect of music and sound as part opportunity, part problem. Ergo, you’ll be thinking ‘maybe standing out and being noticeable is a good thing! And you’d be right. there are times when using no reverb at all on a sound helps lift it in the mix without obfuscating other elements of the track. But, more times than not, a total absence of reverb is in fact, more of a problem. Humans generally just can’t warm to cold, sterile sounds. We need a little ambient reverb to help us enjoy them. So, while overusing reverb will quickly turn your mix into soup, under-using reverb can be just as problematic. Let’s listen to the drum loop in our example track, completely devoid of reverb:
Cold, and unsatisfying, right?
Less is more.
If I had to give one single piece of advice to my students, it would be this: If in doubt, dial it back. It’s so easy to become accustomed to the amount of reverb in your track that you lose sight of how it’s really affecting things. Turn it right down, drop that decay length to zero and build up, constantly referencing. Try different reverb types and evaluate how they affect the tone and character. Have an idea in advance of the type of reverb effect you want to hear. And, of course, avoid these 8 common EQ mistakes!
About the author:

