Interface Overview
Human Plugins features a super-simple and intuitive user interface. Turning the large knob will change the amount of effect, from no effect (Bypass) to maximum Humanization.
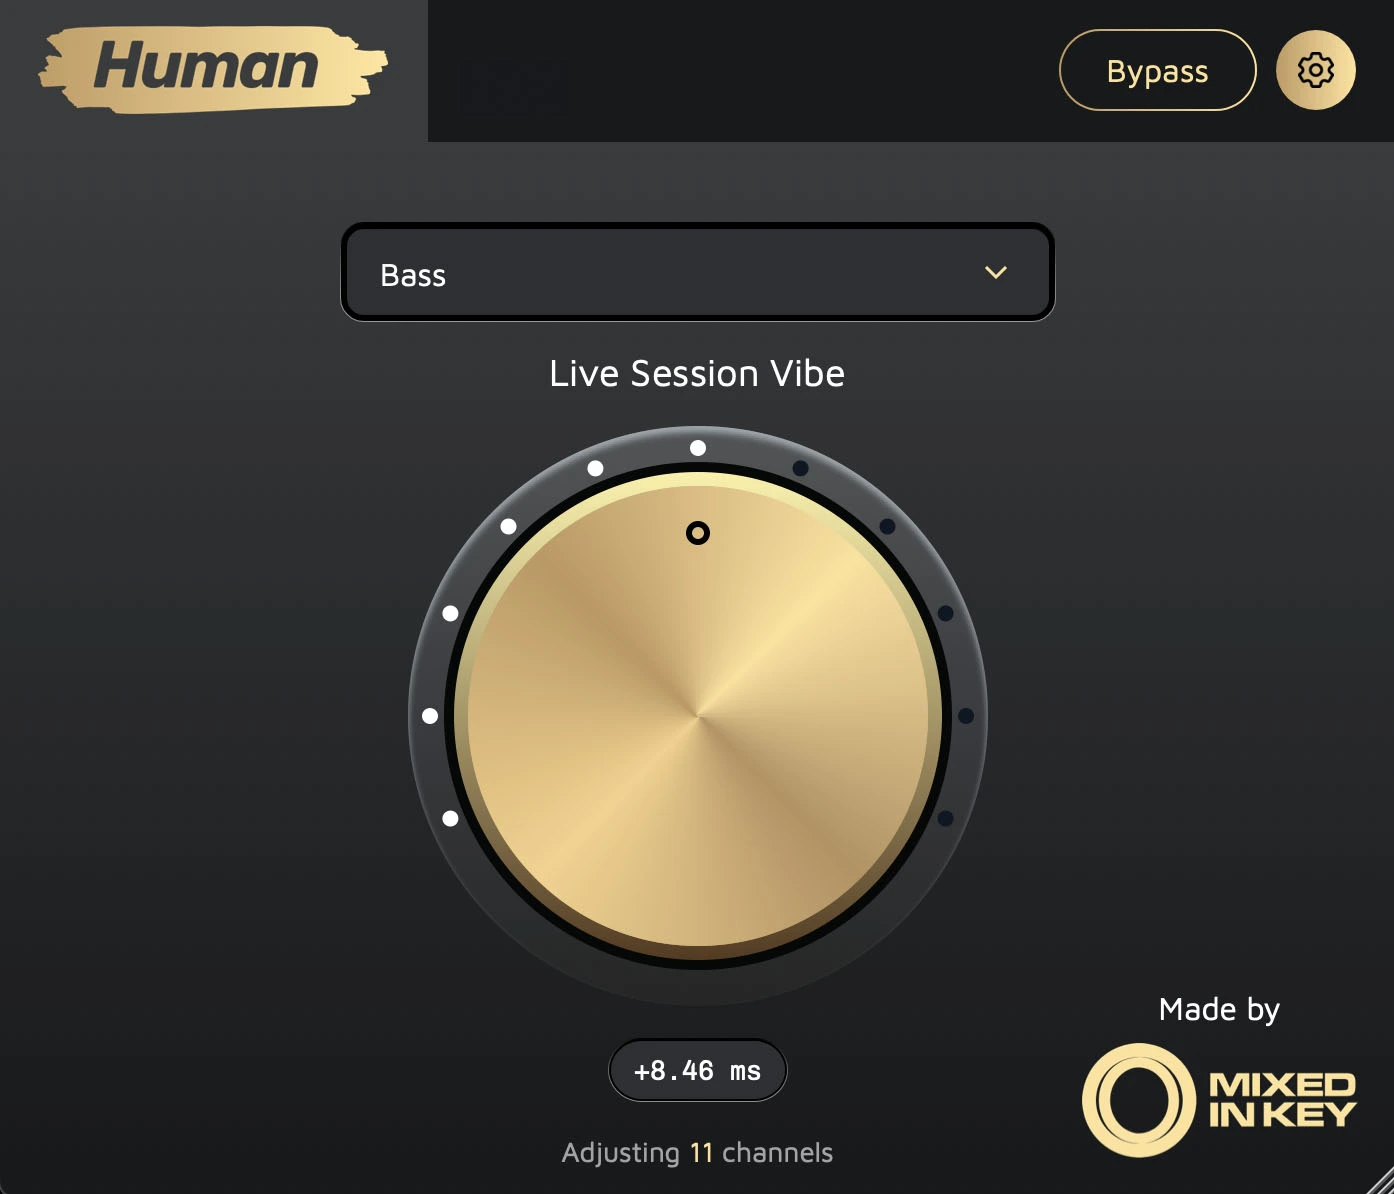
Settings can be accessed via the cog icon at the top of the plugin’s user interface.

Adding to your DAW
There are 3 ways in which you can add instances of Human.
- As audio-effect insert on an audio or software instrument channel.
- As MIDI FX insert (Logic Pro).
- As a MIDI plugin on a MIDI channel ( For Ableton and other DAWs that do not have MIDI FX slots).*
*Using it as a MIDI plugin will require some additional routing.
How to apply the effect
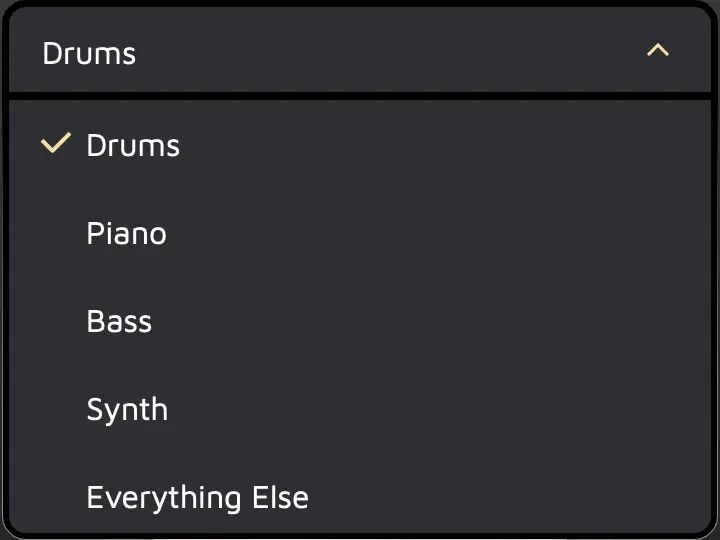
Set from the drop down option which type of sound you are applying the effect to. For example, Drums, Piano, Bass, Synth.
Turn the large knob to change the amount of effect, from no effect (Bypass) to maximum Humanization. The center display gives a real-time read-out of the amount of effect being applied in milliseconds.
The Bypass button offers quick bypassing of a single instance. This allows you to check the effect on, or off, without bypassing all of the instances of Human in your project.
There’s no set rule on how much effect to apply, you should decide based on the resulting sound and experiment with different values.
All instances of Human Plugins connect to each other, so changing the setting on one instance will also be changed on all of the other instances.
How to Use Human MIDI in Ableton Live
Best Practices
For best results, when using audio tracks, we recommend adding to individual tracks where there are not too many different instruments playing at once, rather than complex layered loops, or buses/group tracks.
For example, adding an instance to each individual drum sound, each on separate channels, will give better results than inserting one instance of Human onto a drum bus where all the drum sounds are summed together.
In short: Add Human to each individual channel in your DAW project, rather than to groups, master or bus channels.
This is less important on MIDI channels since there is no audio time-stretching, only dynamic MIDI timing. However, as with audio tracks, better humanization results will be achieved when using on individual channels.
