Pilot Plugins: Overview Tutorial
1 Introduction
Pilot Plugins help you create amazing melodies, basslines, arpeggios and more inside your favorite DAW.
There are currently three different Pilot Plugins flavors: Pilot Melody, Pilot Bass and Pilot Arpeggio.
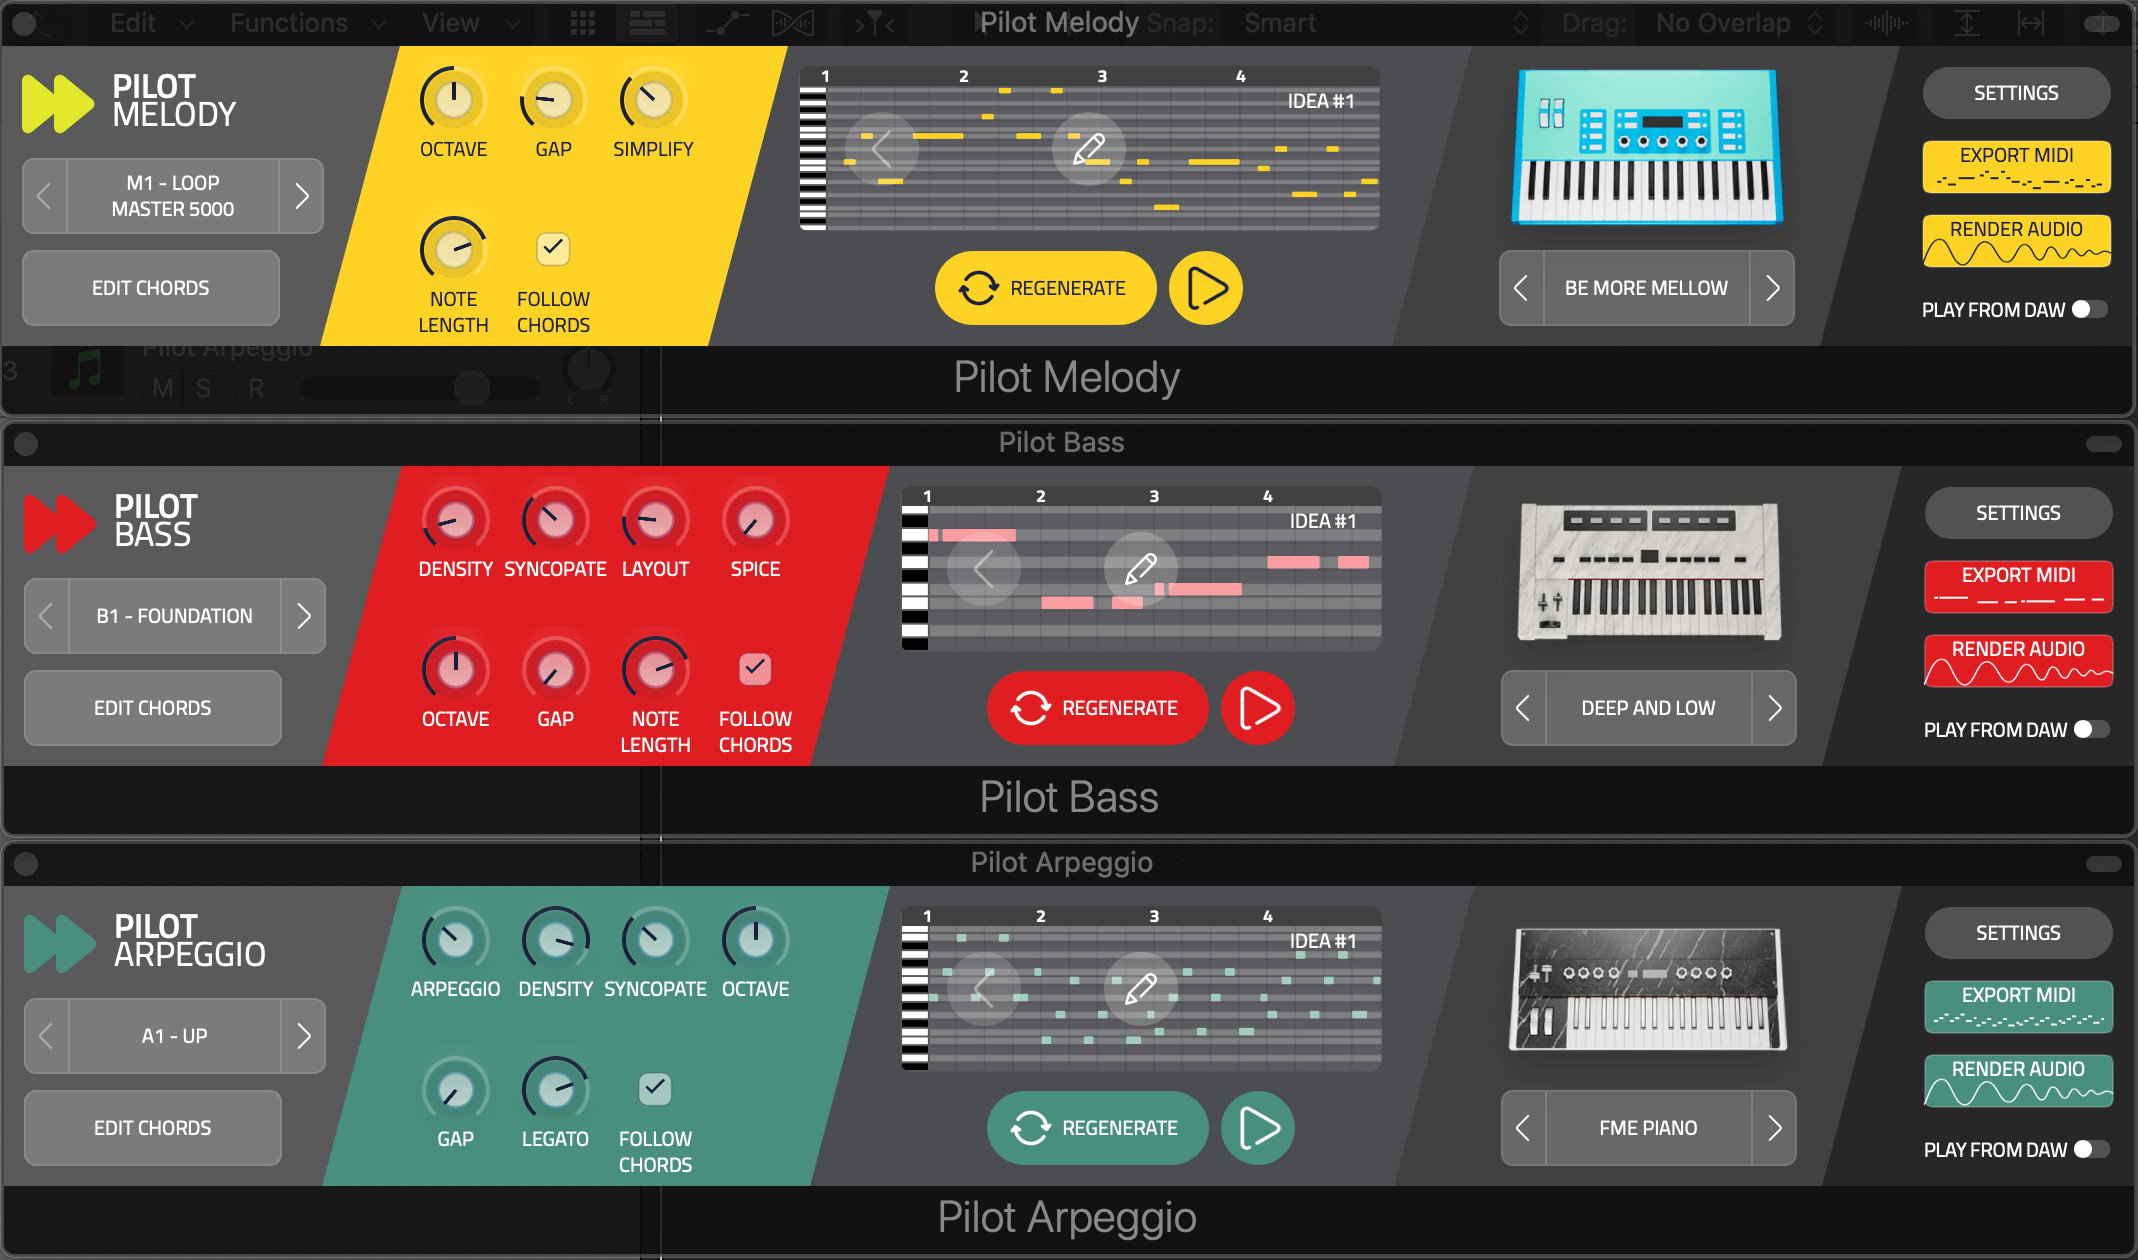
The plugins you receive when purchasing Pilot Plugins will be determined by the Style pack you choose.
Our first Style pack is called Futurism Volume One. This is geared towards Melodic Techno, Progressive House, Tech house and other sub-genres of electronic music.
Futurism Volume One comes bundled with Pilot Melody, Pilot Bass and Pilot Arpeggio.
Each plugin flavor has a similar interface, the differences are set by the Style you load in the plugin.
This makes it easy to identify the type of instrument you are using while offering a super-fast learning curve by keeping the control layout the same across the various Pilot Plugins flavors.
Pilot Plugins can be used in existing DAW projects, to add new elements to your songs, or used at the very start of your music creation process.
2 Let’s Go!
After installing Pilot Plugins, open a DAW project and add either one of the Pilot Plugin flavors as a VST2 or AU software Instrument.
For this guide we’ll start by opening Pilot Melody.
You’ll be asked to connect to Captain Chords Epic, or use Pilot’s own chord generator as the chord progression source.

Don’t worry if you don’t have Captain Chords Epic, Pilot can be used on its own, but they are designed to work great together too.
We’ll choose Pilot Plugins as the chord source for now.
3 Setting Key, Scale and Chord Progression
When the Pilot Melody user interface opens, first select the key and scale you wish to work in by pressing on EDIT CHORDS.

The user interface extends downwards to reveal the control settings for the key and scale and chord progression.

Once you choose the key and scale, you can either set the chord progression by choosing from BANK or PRESET, or by setting your own chords manually.

To set manually, click on the chords shown at the bottom of the user interface, and select a new chord for that measure from the pop-up Magic Buttons.
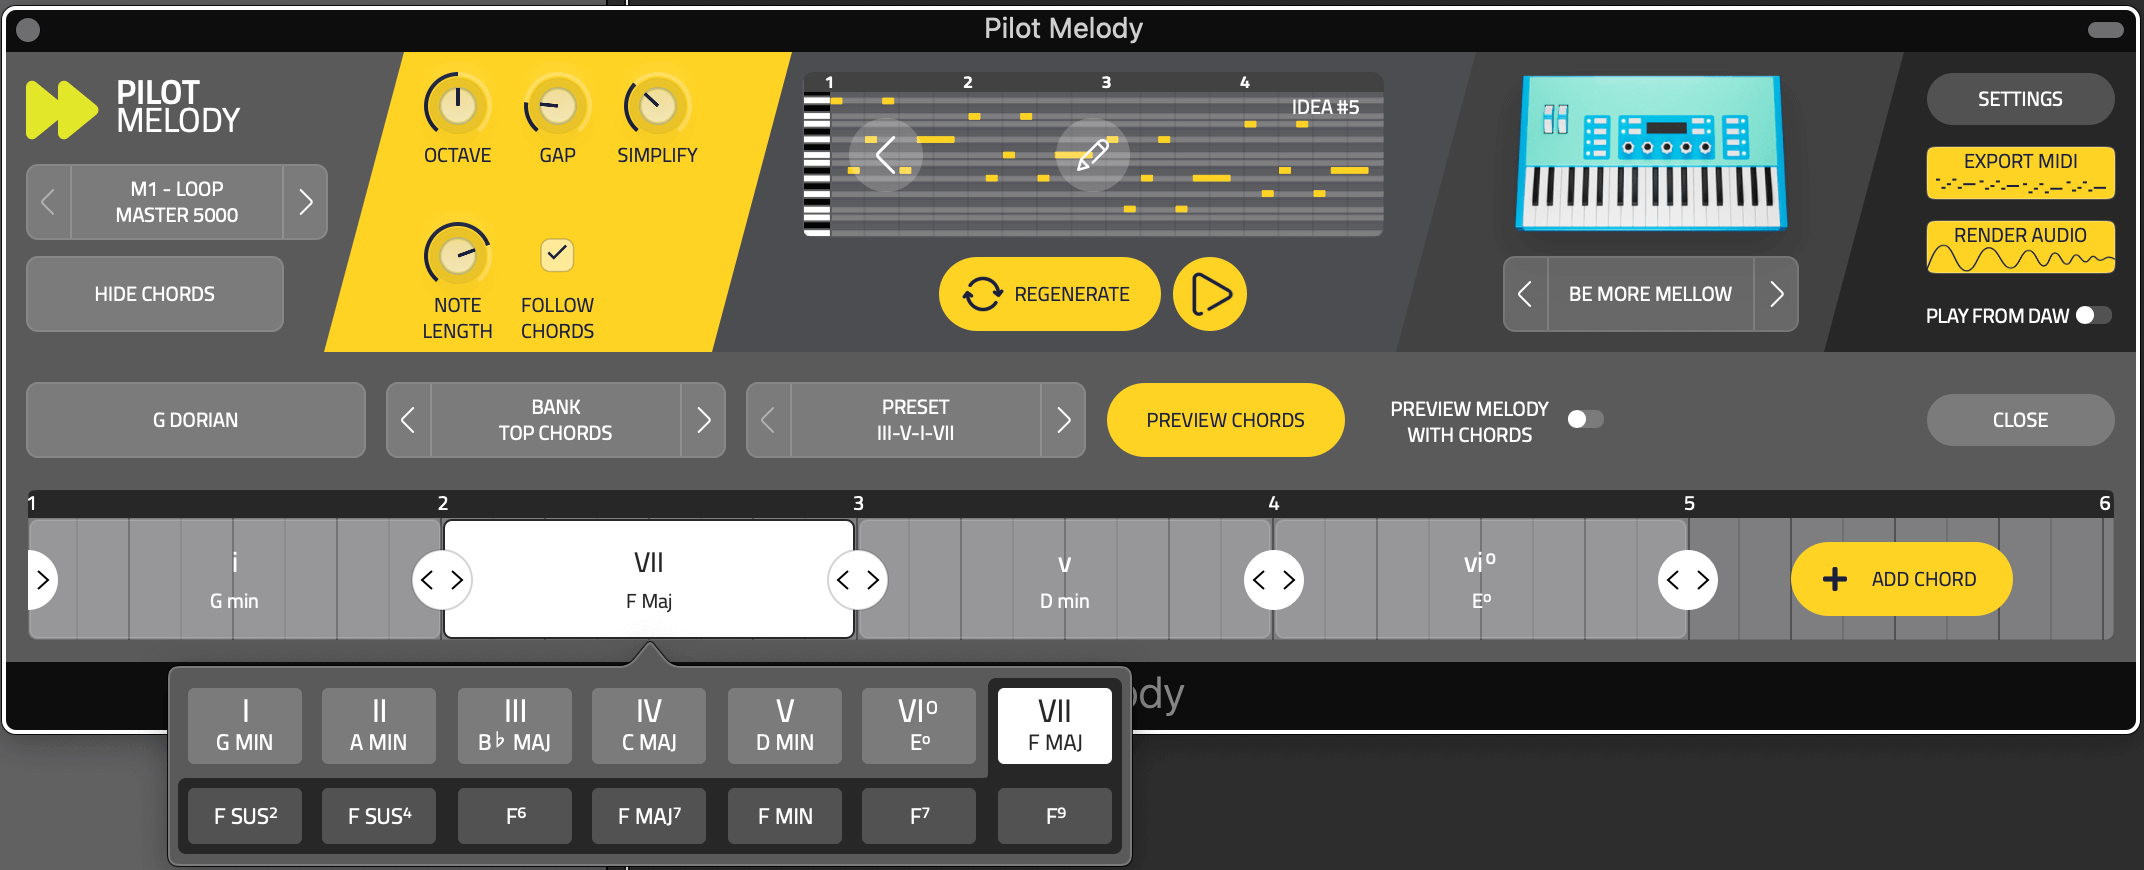
You can also add additional chords to create a longer progression, if required, and adjust each chord length by moving the circular chord adjustment sliders left or right.

Use the PREVIEW CHORDS button to audition the progression.

Note that the chords will play back in quick succession in this mode. This is designed to allow fast auditioning.
Once you’ve set a chord progression, turn on the PREVIEW MELODY WITH CHORDS toggle switch, and press PREVIEW CHORDS again.

The chords will now play back at normal speed along with the current melody.
Once you’re happy with your choice of chord progression, press CLOSE which will return the user interface to the normal size.

4 Using Pilot Plugins with Captain Chords Epic
If you own Captain Chords Epic, then we recommend adding it to your DAW first, creating your chord progression, and then adding Pilot Plugins to your DAW.
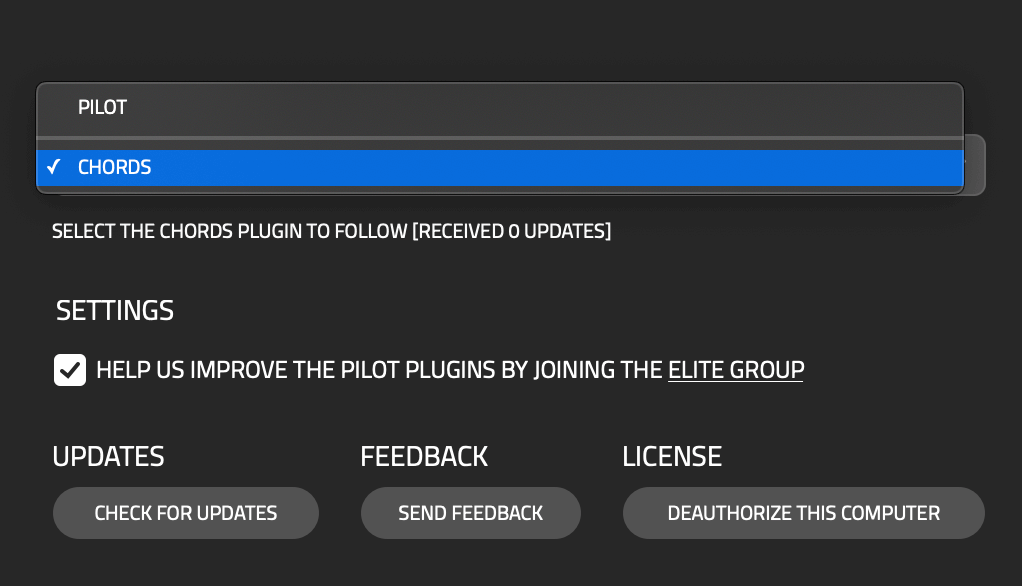
When you open Pilot and choose Captain Chords Epic as the source you will no longer have the EDIT CHORDS option, since it is not required.
You can revert to using Pilot as the chord source from within the Settings panel in Pilot.
5 Choose a Style
Styles are at the heart of Pilot Plugins.
They each offer a different style of melody, bassline or arpeggio which can be modified almost limitlessly using the CONTROL KNOBS and REGENERATE button.
Click on the STYLES button on the left to reveal the Styles menu.
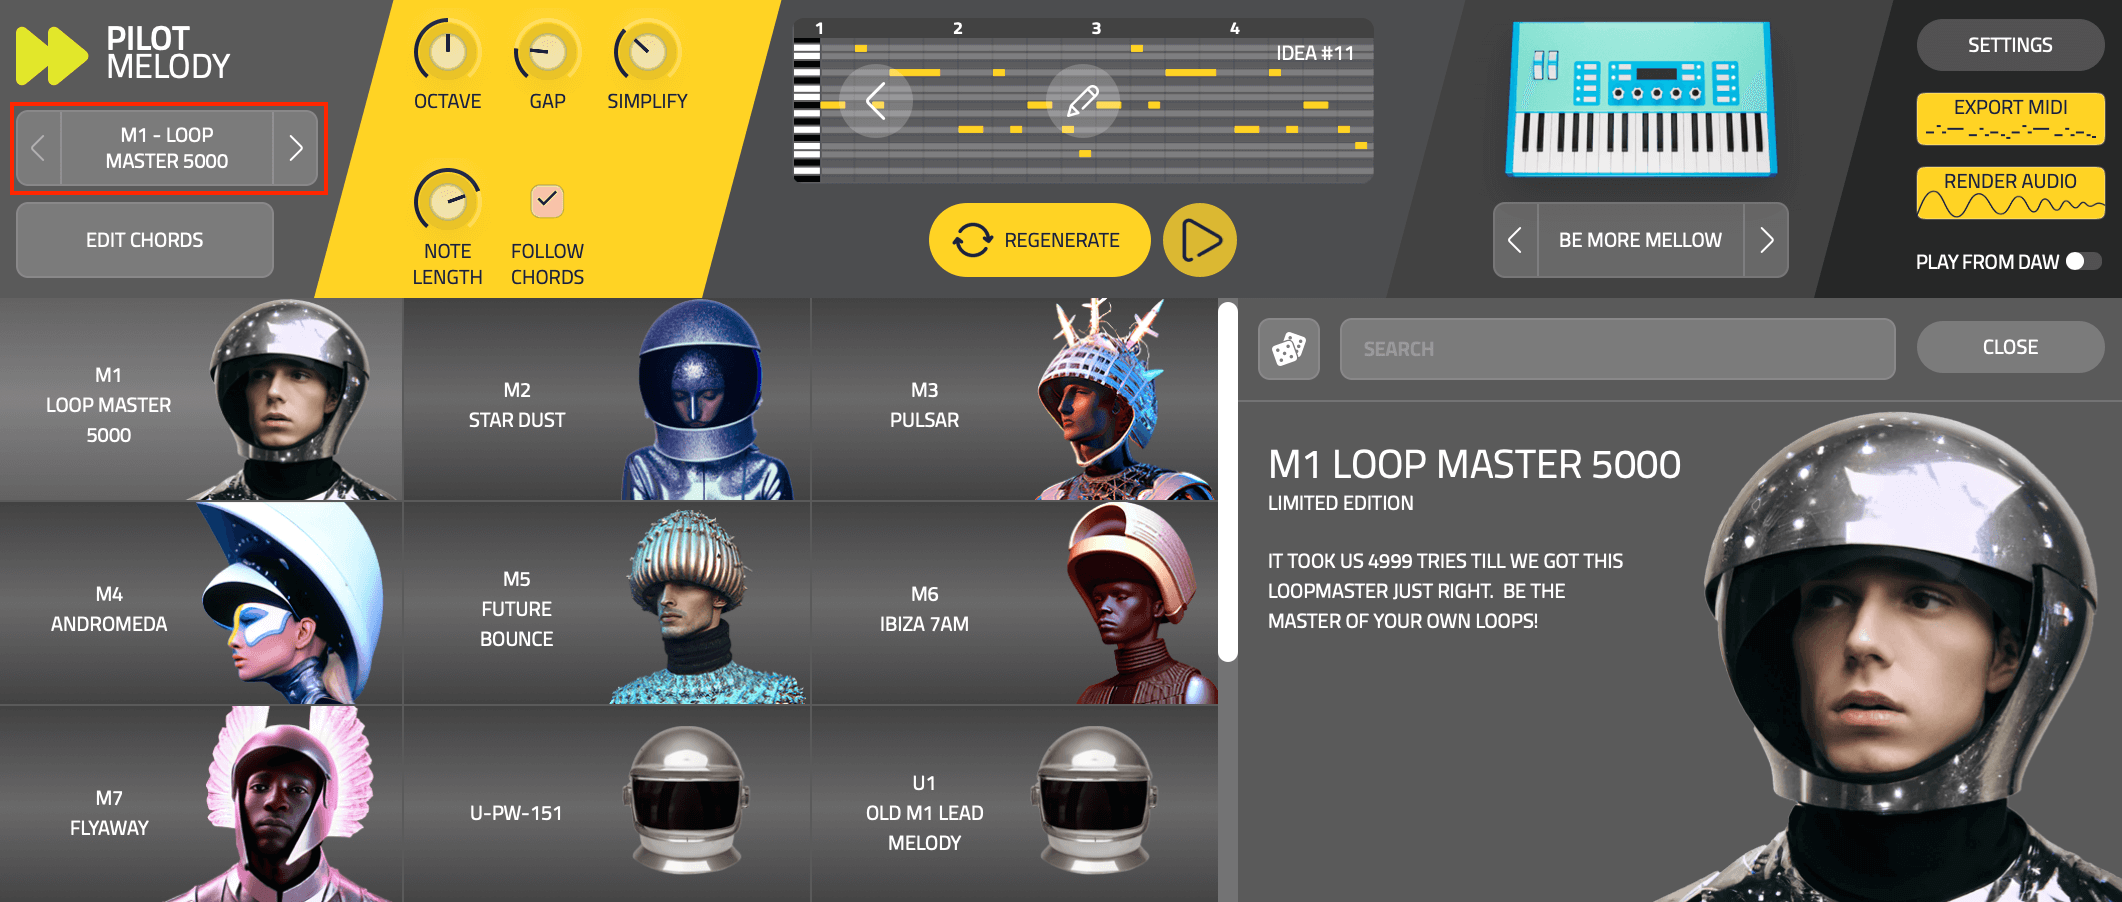
Once you’ve chosen the Style, you can experiment with the various CONTROL KNOBS which let you customize the style you’re using.
Each knob is tailor-made to fit the style.
For example, the M1 Loop Master style lets you change the GAP and SIMPLIFY settings, whereas the M2 Star Dust lets you change LAYOUT and DENSITY for different sections.
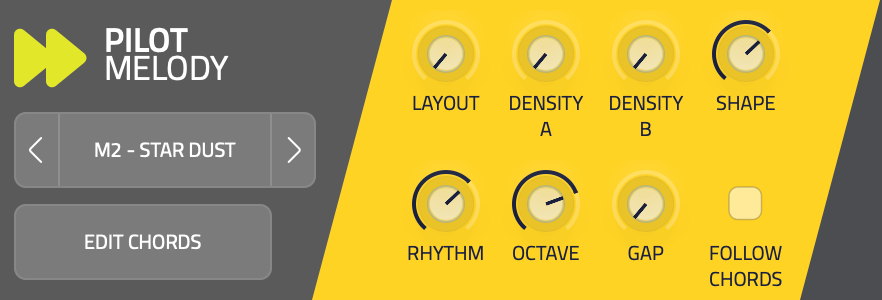
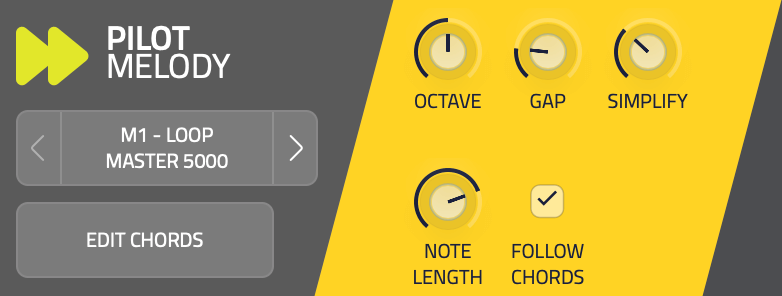
Every Style is unique, and has its own special control knobs to make interesting melodies, basslines and arpeggios.
When you turn a control knob, you’ll see different MIDI notes generated in the center preview section. If you want to see the results up close, click on the EDIT ICON to expand the canvas for a more detailed view and to edit the MIDI notes manually.
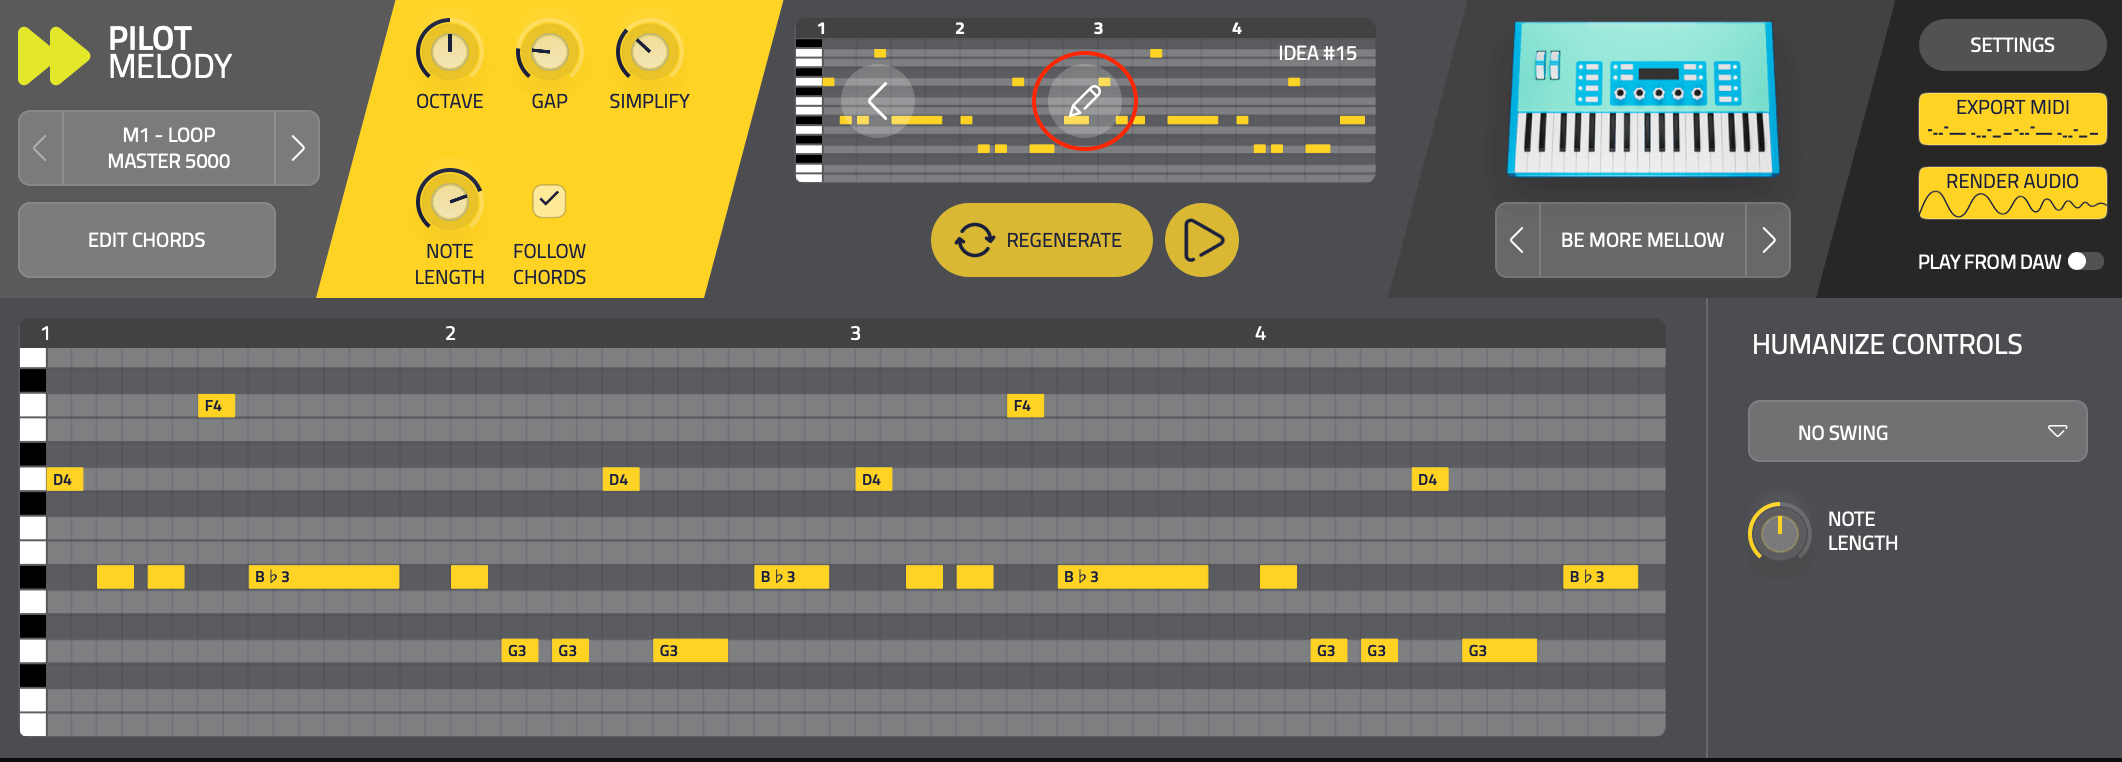
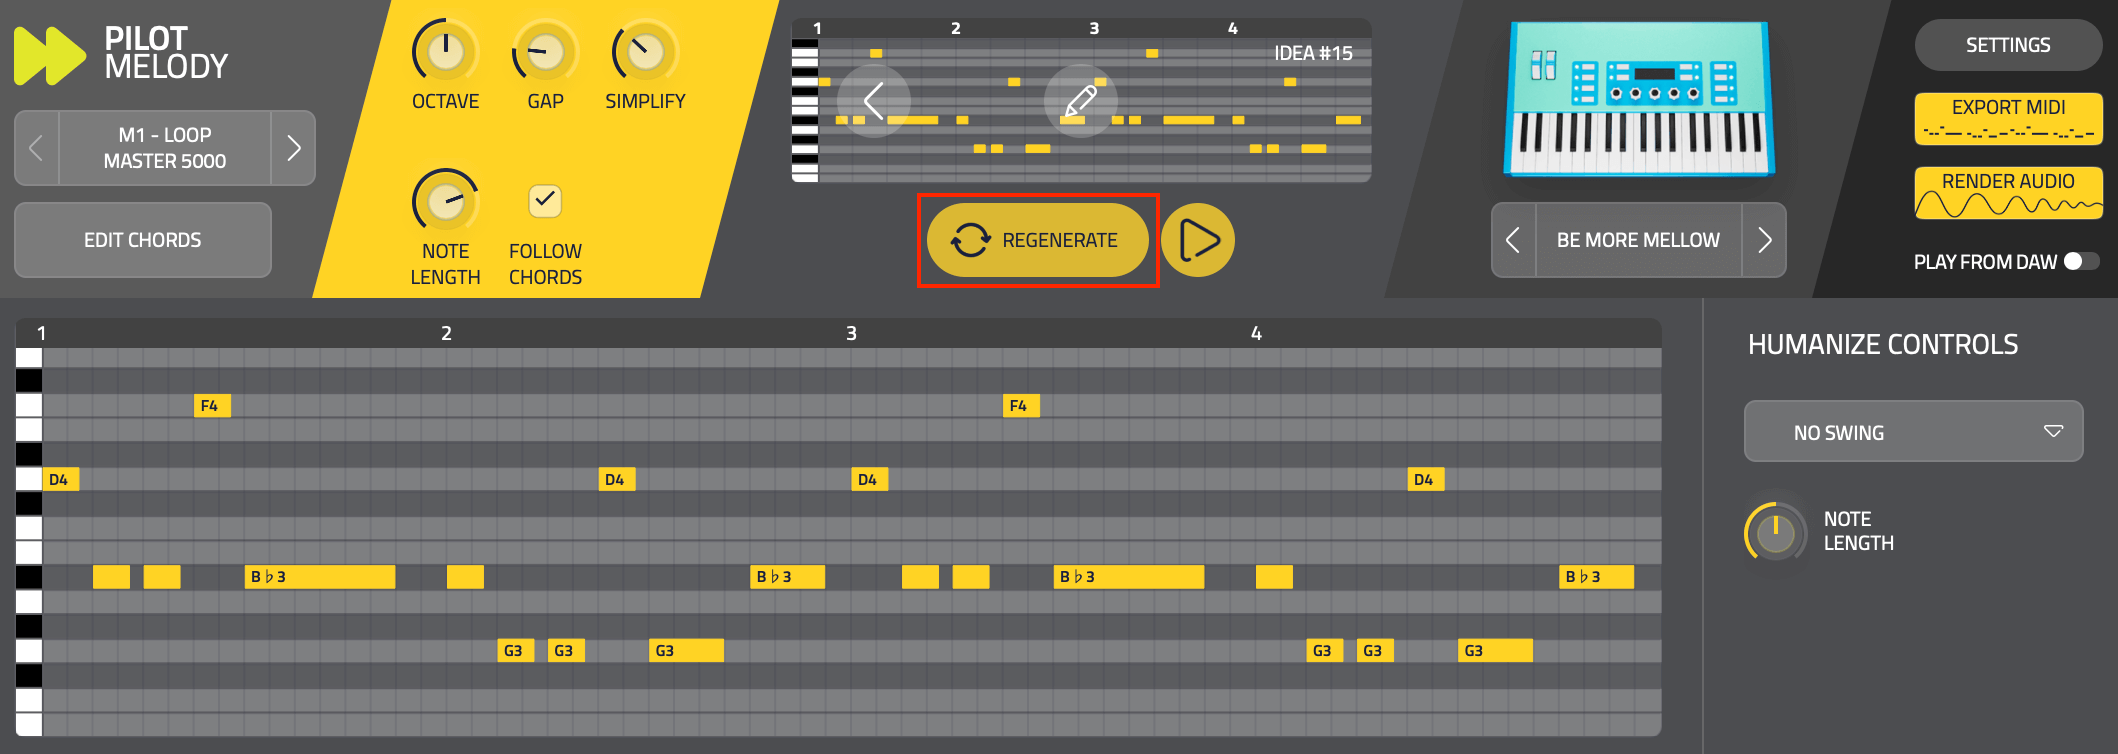
You can also generate a nearly infinite number of melodies, basslines and arpeggios by clicking on the REGENERATE button.
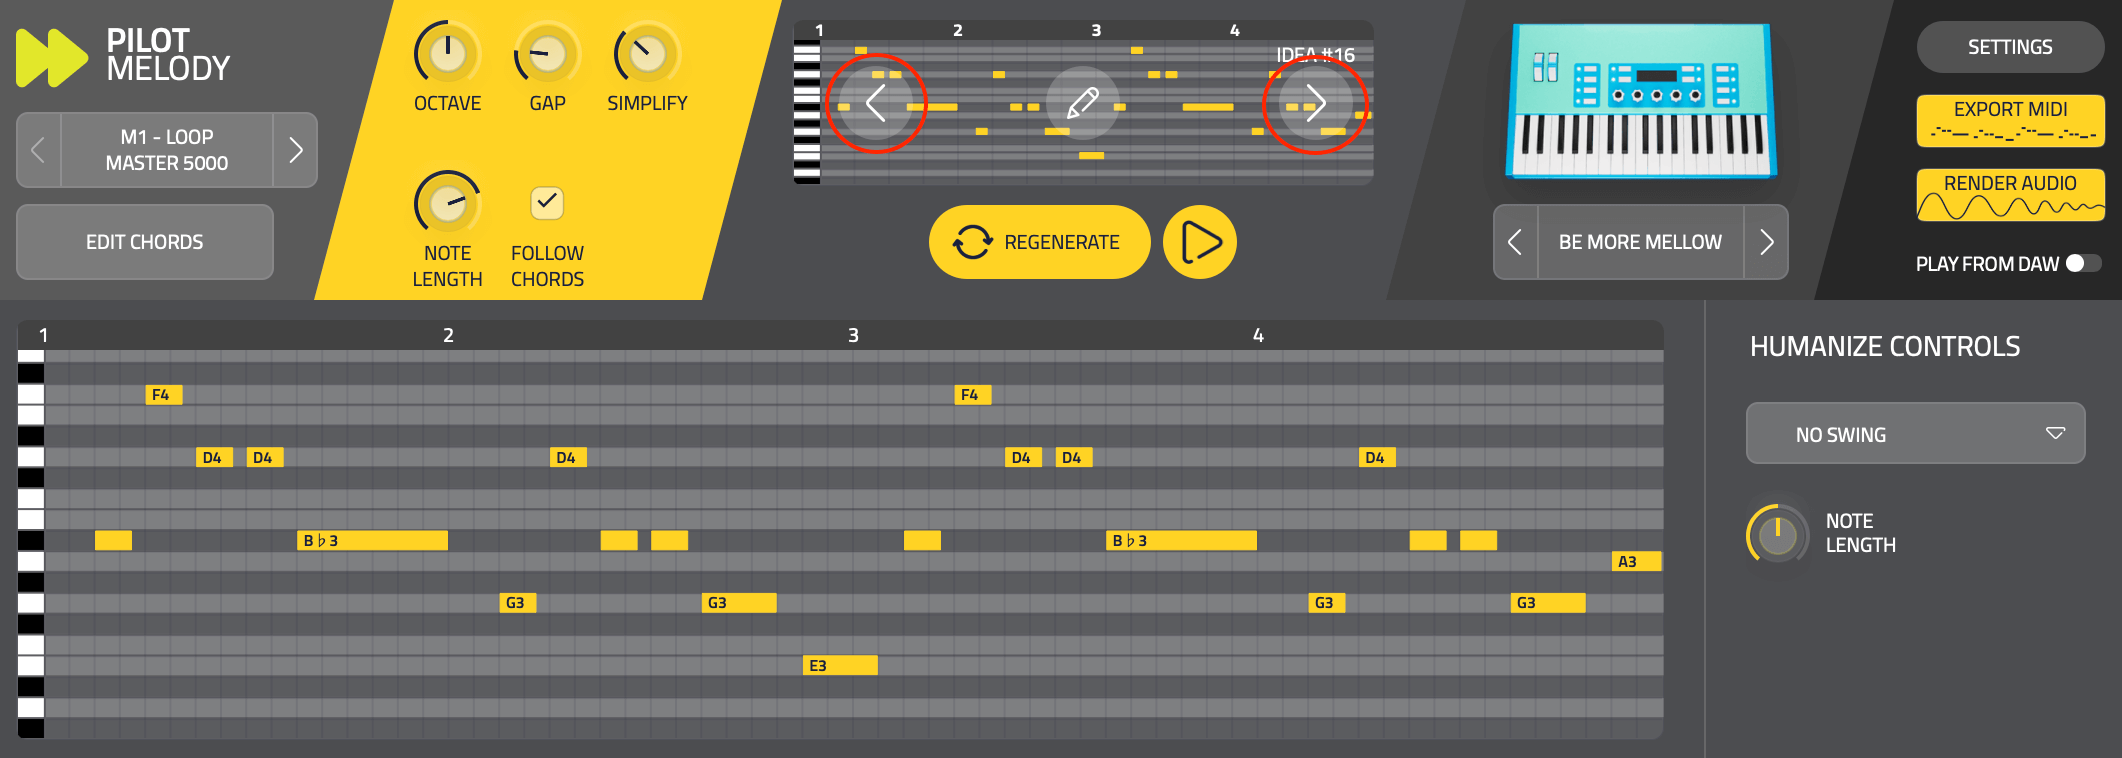
You can recall older ideas by clicking on the LEFT ARROW to load previous melodies you’ve generated, or the RIGHT ARROW to recall more recent ideas.
6 Sound Presets
The audio engine inside Pilot Plugins is powered by the award-winning Phase Plant, by Kilohearts.
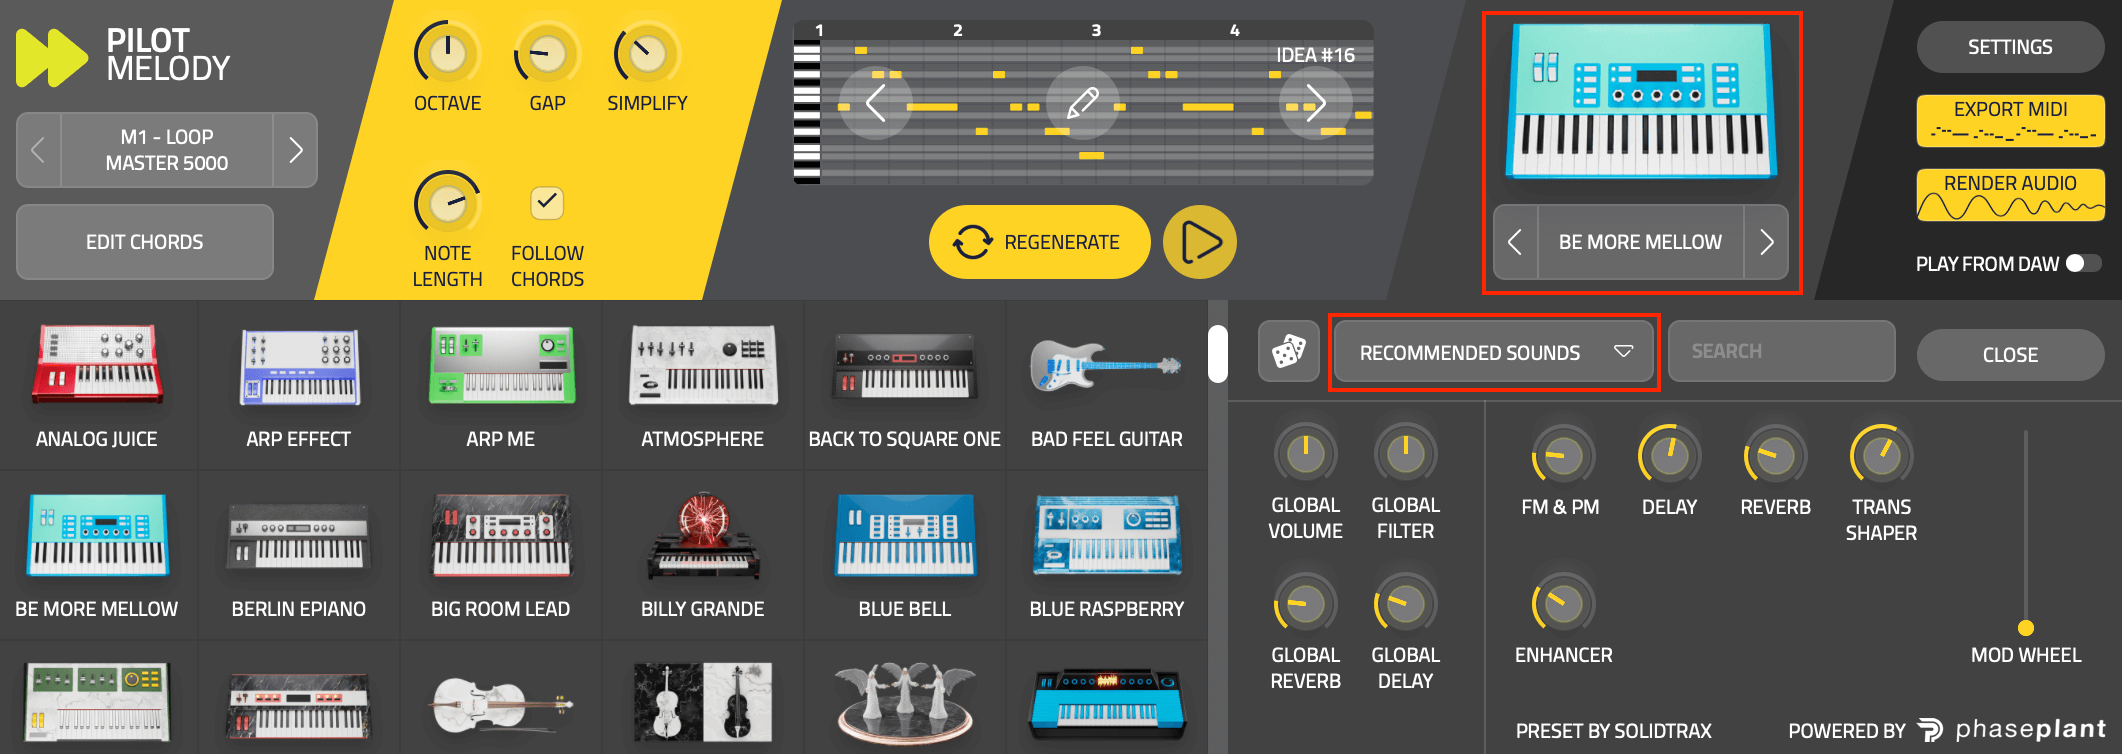
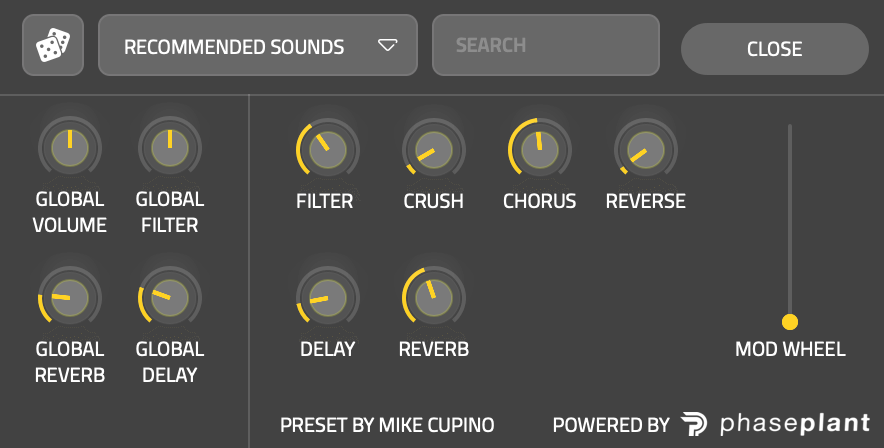
If you click on the synthesizer image, it loads a panel containing all the RECOMMENDED SOUNDS for your selected Style. If you want to see everything, click on RECOMMENDED SOUNDS and go to ALL SOUNDS.
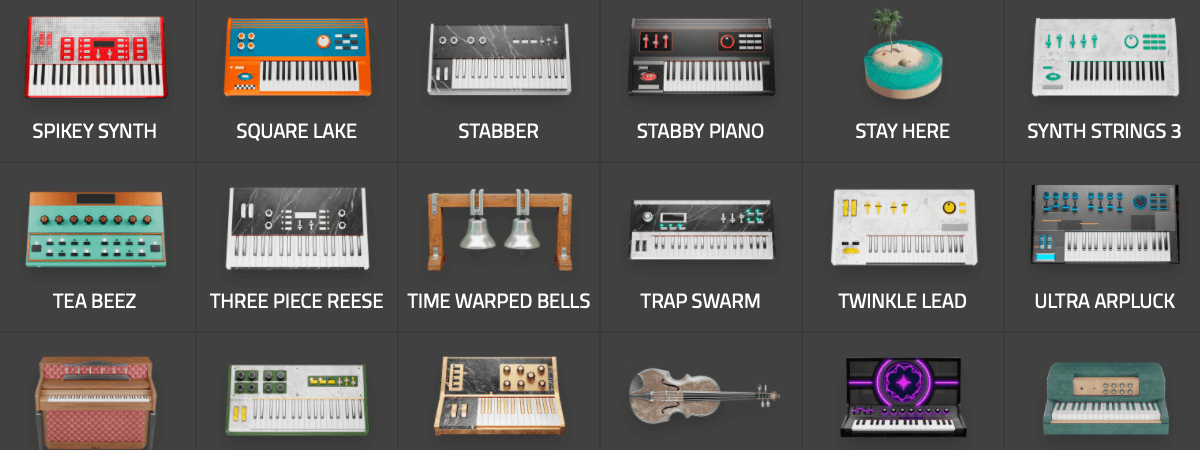
As you can see, each sound preset has its own unique image, that we custom designed, to capture the essence of the instrument it represents.
Since many of the sound presets are powered by PhasePlant, they offer lots of modulation options from the SOUND PRESET MACROS. You can tweak and customize the sound to fit perfectly into your song.
7 Export Audio or MIDI
To export your melody, bassline or arpeggio to your DAW, click and then drag on ‘Export MIDI’ or ‘Export Audio’.
The Pilot user interface becomes transparent to allow you to easily drop the MIDI or Audio onto a channel in your DAW to continue your music production process.
Once you export the audio or MIDI, set the Pilot instance to PLAY FROM DAW so that the audio is only being output by your DAW, and not also Pilot.
